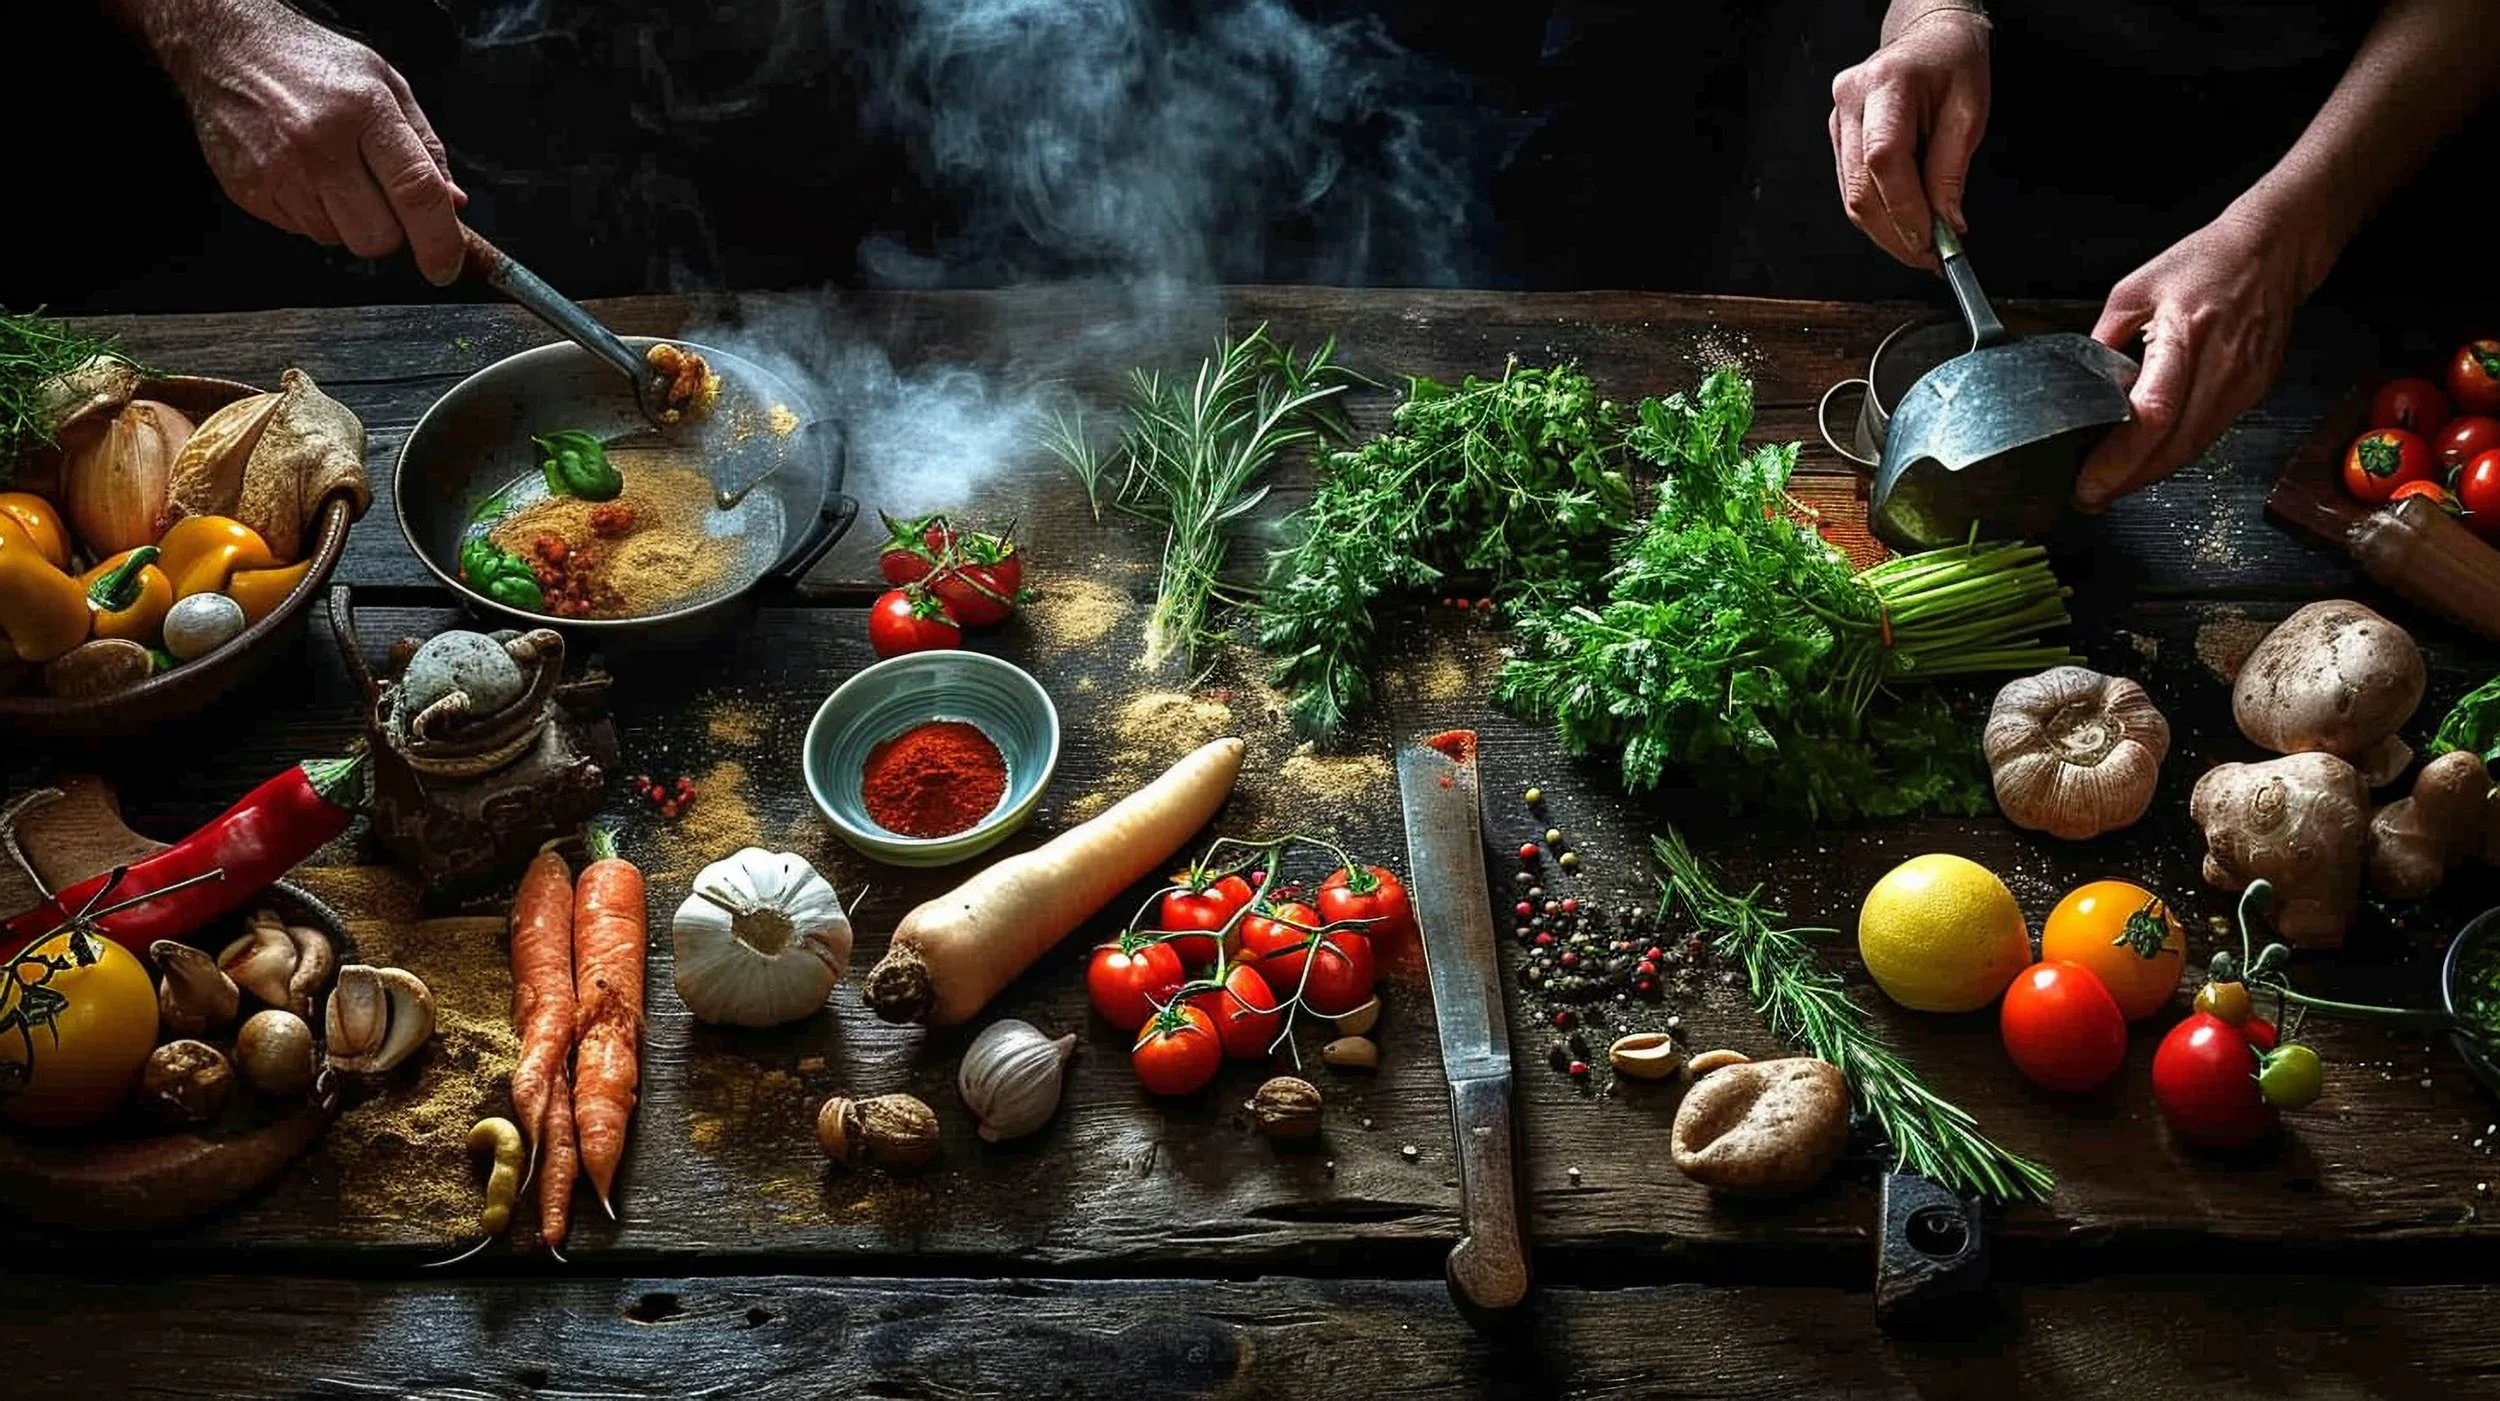
Basic Cooking Methods: 7 Core Techniques Every Beginner Should Learn
Key Takeaways
Master seven foundational methods—boiling, steaming, sautéing, stir-frying, roasting, baking, and braising—to handle most everyday recipes with confidence.
Basic cooking methods change texture, flavor, and nutrition of food; small adjustments in heat, fat, and time can dramatically improve your results.
Understanding both dry-heat and moist-heat methods helps you choose the best approach for specific ingredients, from tender fish to tough cuts of meat.
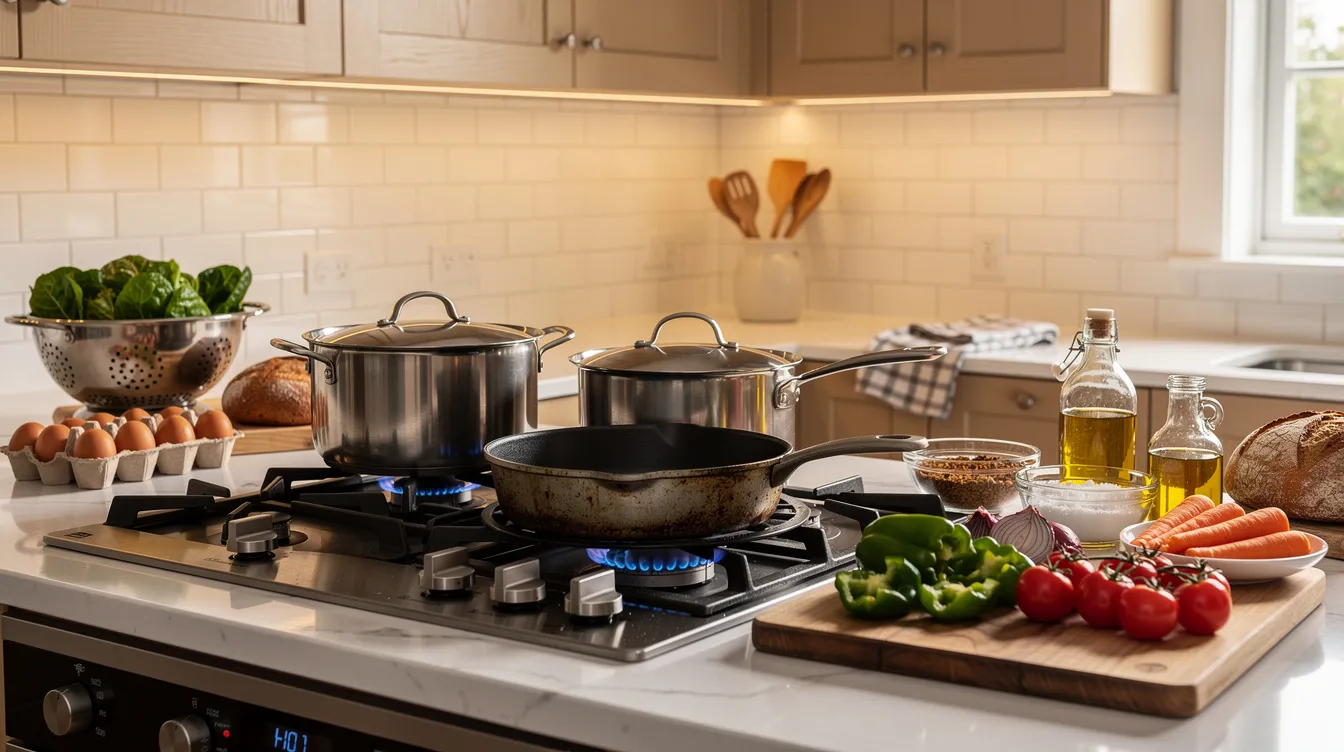
You don’t need expensive equipment to start cooking well—a few reliable tools like a good skillet, sheet pan, and instant-read thermometer will cover most methods.
These culinary skills can be learned through regular practice at home with affordable, forgiving ingredients like chicken thighs, potatoes, and onions.
Where & What to Eat
🍽️
Where & What to Eat 🍽️


Why Basic Cooking Methods Matter

Cooking food at home transforms raw ingredients into complete meals, and understanding how that transformation happens makes all the difference. Techniques like boiling, roasting, and sautéing aren’t just restaurant secrets—they’re the same foundational methods that home cooks use every day to create flavorful, satisfying dishes.
There’s an important distinction between cooking methods and cooking techniques. Methods describe broad ways heat reaches food—roasting, boiling, braising. Techniques are more specific actions within those methods, like searing a steak before braising or folding egg whites into batter. Both affect flavor, texture, and appearance, but methods are the larger framework you’ll learn first.
Most recipes from cookbooks and food blogs rely on the same small set of core methods. Once you understand these basics, you can read any recipe with confidence, improvise weekday meals without strict instructions, and troubleshoot when something doesn’t turn out right. This article walks through seven essential methods with a practical home-kitchen focus—no restaurant-only gear required.
Understanding Cooking Methods vs. Techniques
Before diving into specific methods, it helps to clarify what separates a method from a technique. Methods describe how heat reaches food—through dry air, hot liquid, steam, or a combination. Techniques describe how cooks handle food within that method.
Methods answer: “What type of heat am I using?” (dry, moist, or combination)
Techniques answer: “What am I doing with the food during that method?” (searing, deglazing, basting, folding)
Here are a few concrete examples to illustrate the difference:
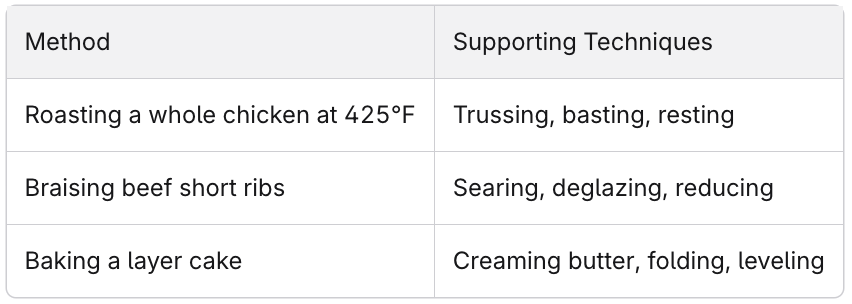
Mastering a few methods plus key techniques makes recipes from any source far easier to follow and adapt. Later sections will show where common techniques like searing and caramelizing fit into the main methods.
Main Categories of Basic Cooking Methods

Culinary arts divide cooking methods into three classic categories:
Dry-heat methods cook food without added water, typically using air or fat. Examples include sautéing, roasting, baking, grilling, and broiling. These methods create browning, crisp textures, and rich aromas through reactions like the Maillard reaction and caramelization.
Moist-heat methods cook food in or above liquid. Boiling, simmering, poaching, and steaming fall into this category. These methods keep food moist and tender, preserve nutrients, and work well for delicate ingredients.
Combination methods use both dry and moist heat in sequence. Braising and stewing start with browning (dry heat) and finish with slow cooking in liquid (moist heat), making them ideal for tough cuts of meat that need tenderizing.
Choosing the right category depends on your ingredient’s tenderness and your desired texture. Want crisp, caramelized edges? Go dry-heat. Need to soften tough fibers while keeping things moist? Combination methods are your answer.
Dry-Heat Methods: Building Flavor with Browning

Dry heat cooking methods use high temperatures and air or fat to create browning, crisp edges, and rich aromas. When food hits a hot pan or oven, the Maillard reaction kicks in—a chemical reaction between amino acids and sugars that starts around 285°F (140°C) and produces hundreds of flavor compounds.
These methods work best for tender cuts of meat, many vegetables, and baked goods where color and texture matter. The primary dry-heat methods include sautéing, stir-frying, roasting, baking, grilling, and broiling. This section focuses on the four most useful for beginners.
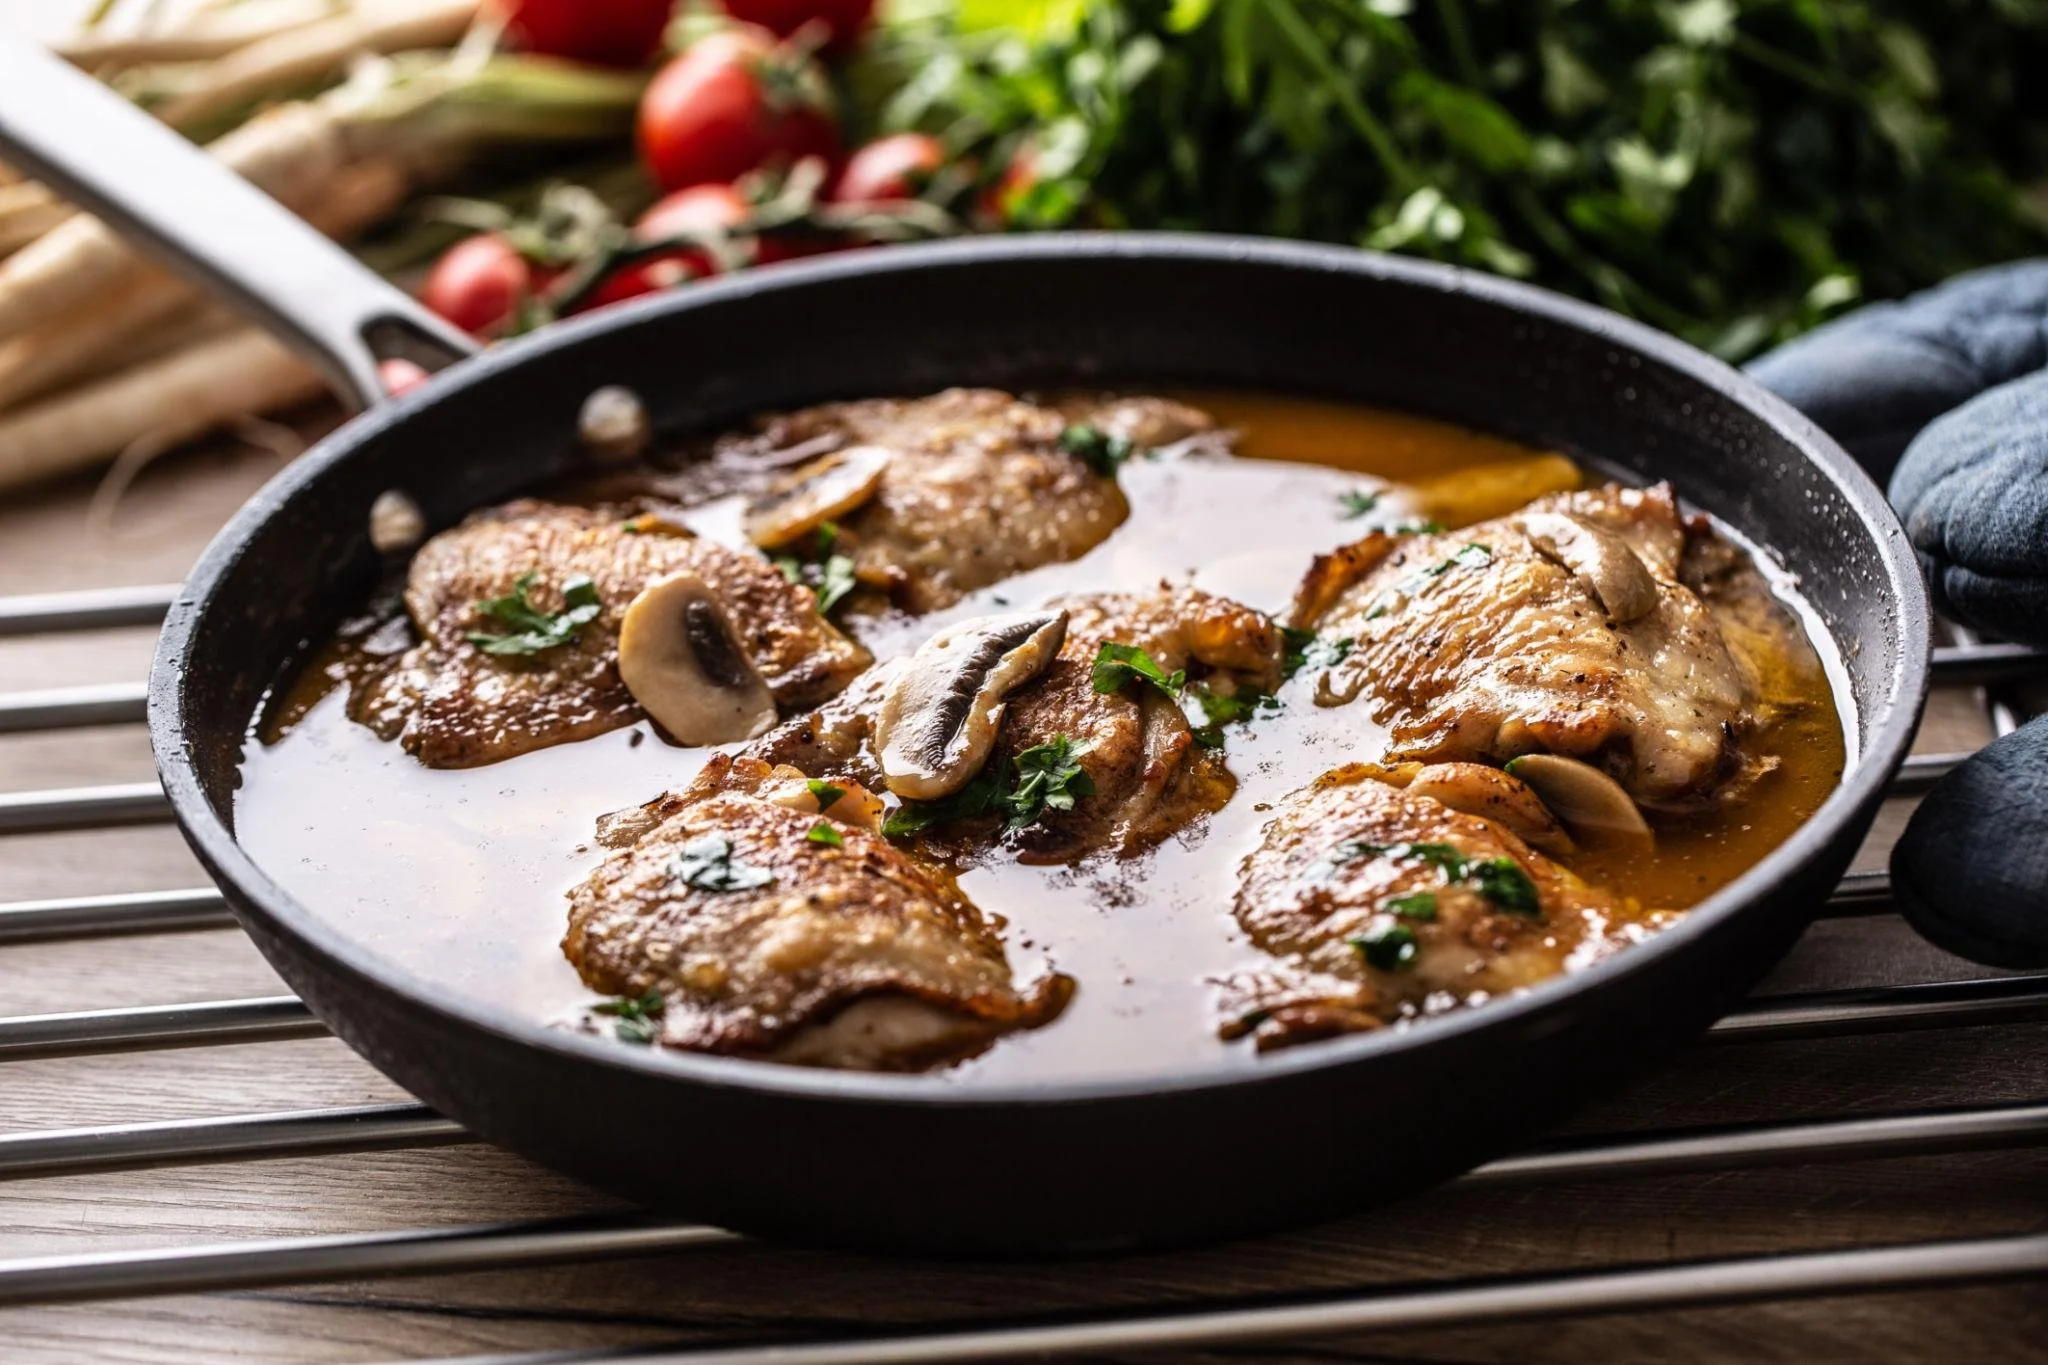
Sautéing
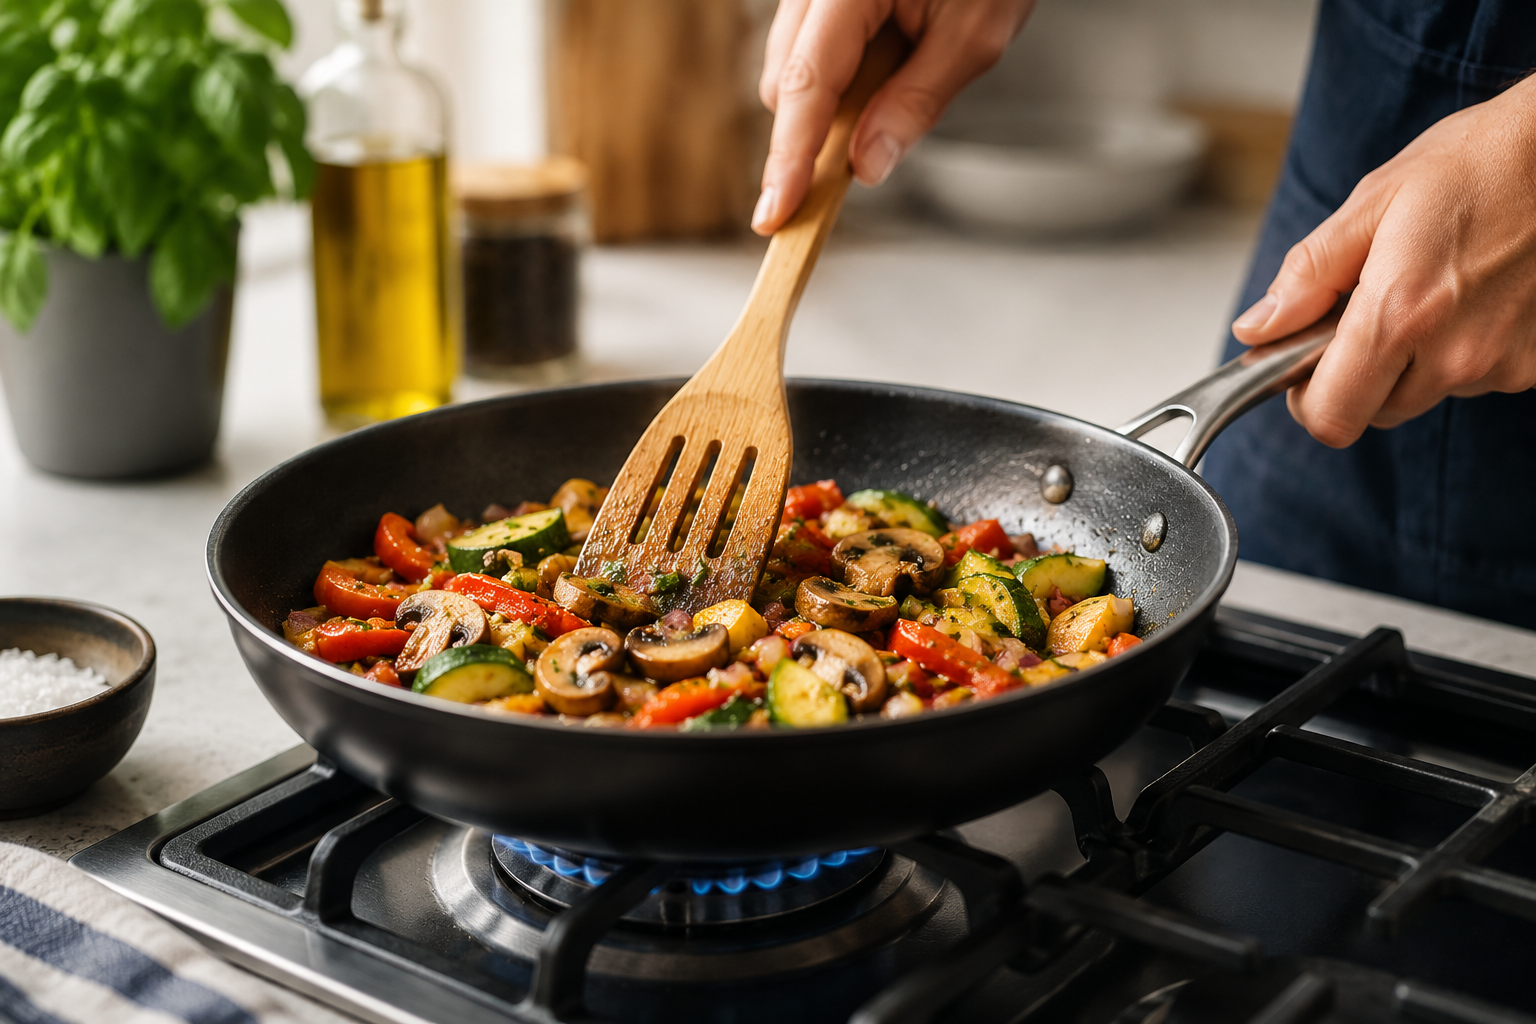
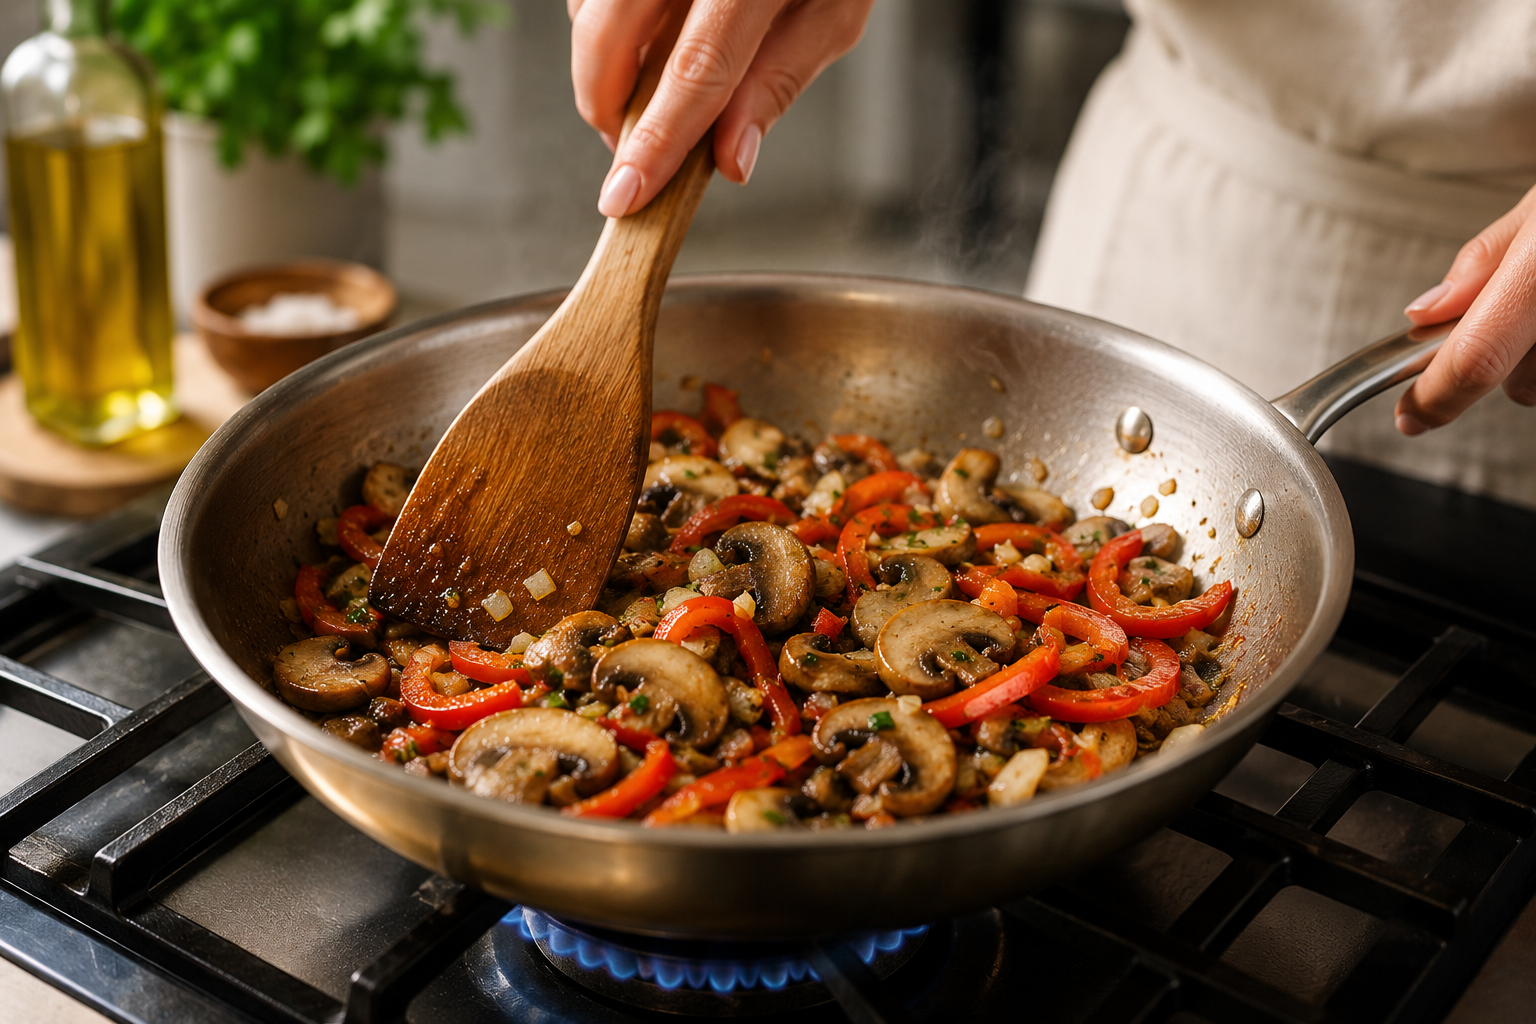
Sautéing means cooking relatively small or thin pieces of food quickly in a shallow pan with a small amount of hot oil over medium-high to high heat. The word comes from the French “sauter,” meaning to jump—referring to how food moves in the pan.
Common sautéed dishes:
Chicken strips for fajitas or tacos
Sliced mushrooms for pasta
Onion and garlic bases for soups and sauces
Shrimp with garlic and dried herbs
Basic sautéing steps:
Preheat your pan over medium-high heat until hot
Add oil with a high smoke point (like vegetable or avocado oil)
Wait until the oil shimmers before adding food
Avoid overcrowding—leave enough room between pieces
Toss or stir frequently so food cooks evenly
When you sauté, browned bits called “fond” stick to the pan bottom. These are flavor gold—deglaze the pan with stock or wine to make quick pan sauces that transform simple chicken breasts into restaurant-quality meals.
Start with neutral oils and simple seasoning (salt, pepper, dried herbs) before moving to complex spice blends. A properly preheated hot pan makes all the difference between steaming and actual sautéing.
Stir-Frying
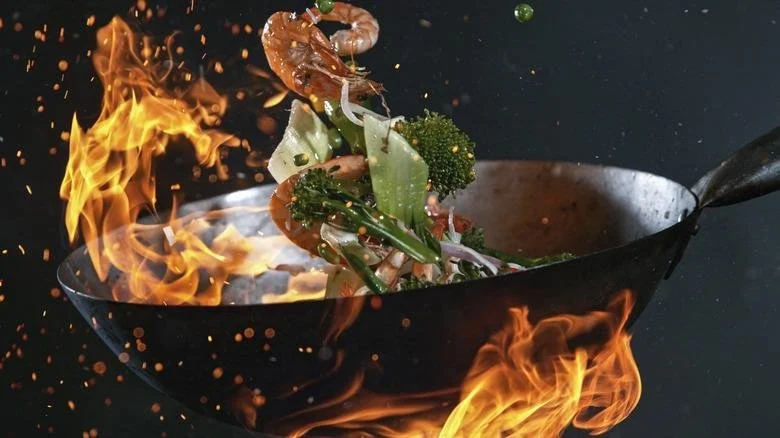
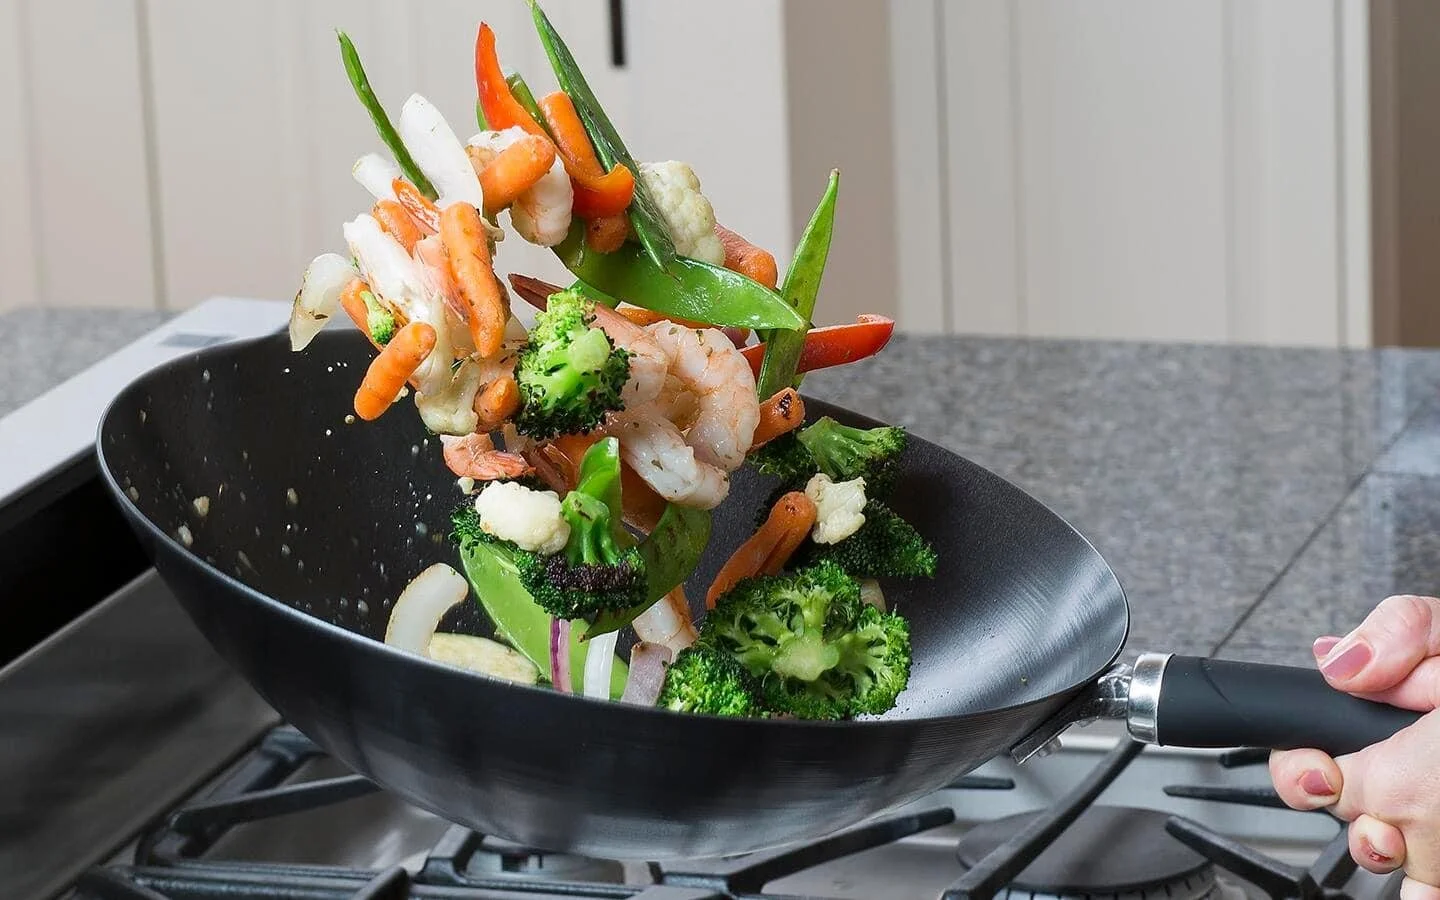
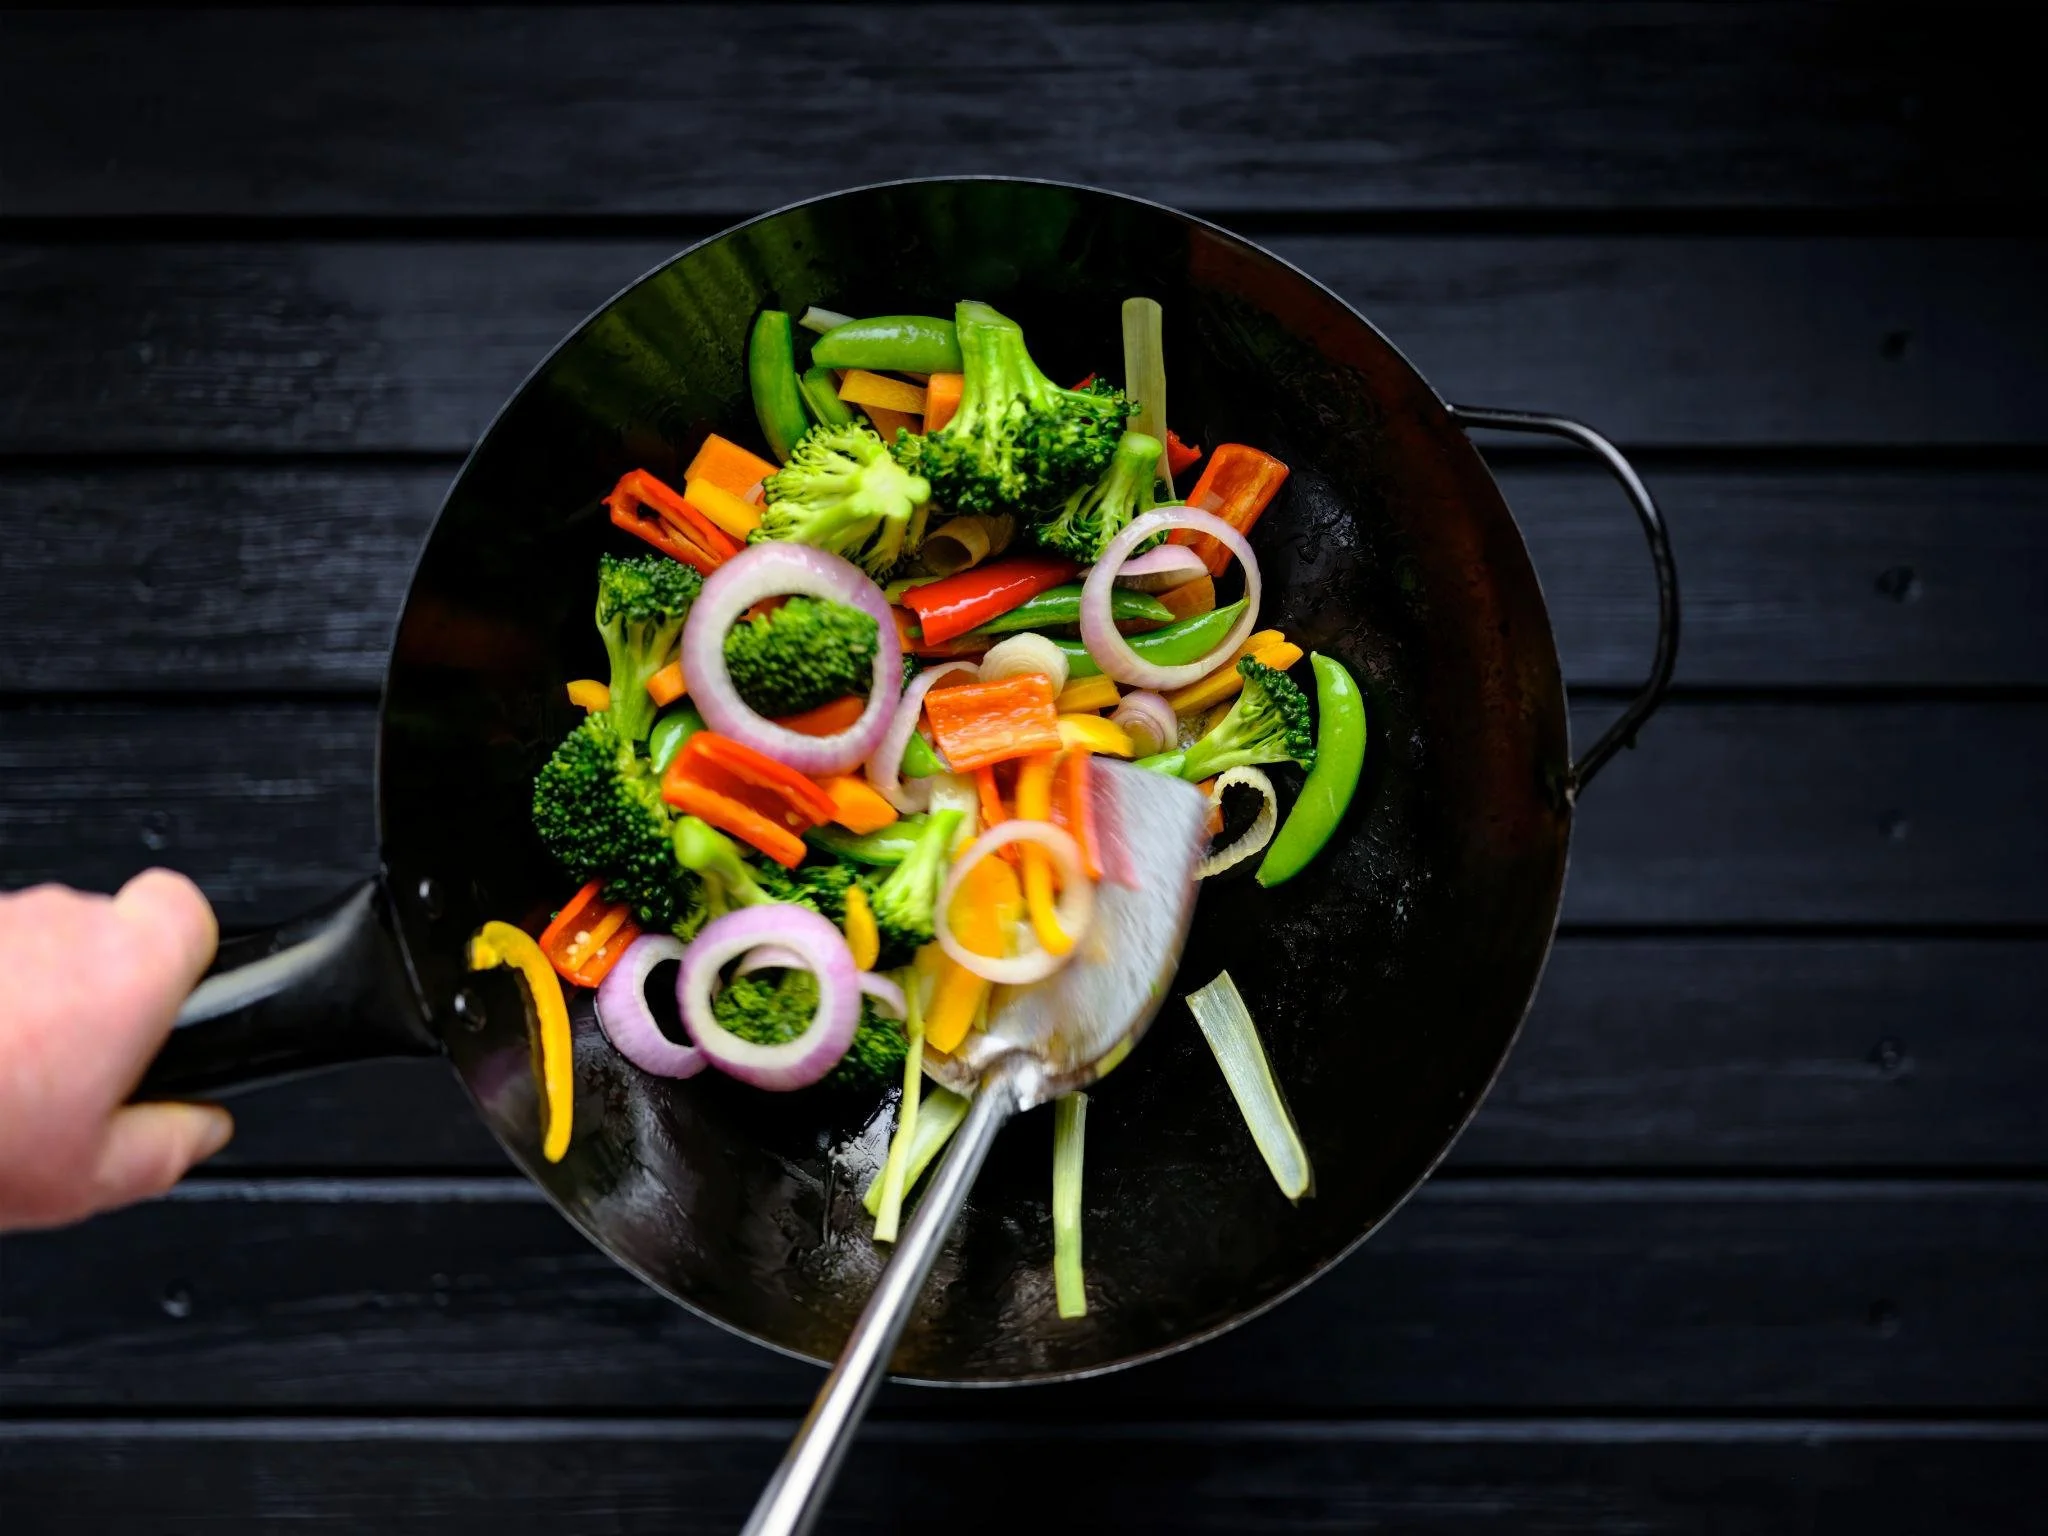
Stir frying is sautéing’s ultra-fast, high-heat cousin. Traditionally done in a wok, this method adapts easily to a large skillet at home. Ingredients are cut into bite-sized, uniform pieces and cooked in a small amount of hot oil while being kept in near-constant motion.
Popular stir-fry dishes:
Vegetable stir-fry with tofu
Beef and broccoli
Quick noodle stir-fries for weeknight dinners
Fried rice with eggs and vegetables
The key to successful stir frying is preparation. Because the cooking process often takes under 10 minutes, you need everything ready before turning on the heat—vegetables sliced, sauces mixed, proteins cut. This mise en place approach prevents scrambling while food burns.
Order of operations for stir-frying:
Heat wok or large skillet over high heat
Add oil and swirl to coat
Cook aromatics first (garlic, ginger) for 30 seconds
Add proteins, cook until nearly done, remove
Add vegetables in order of density (carrots before leafy greens)
Return proteins, add sauce (often including soy sauce)
Toss until everything is coated and heated through
The direct heat and constant movement ensure ingredients stay crisp-tender rather than becoming mushy.
Roasting
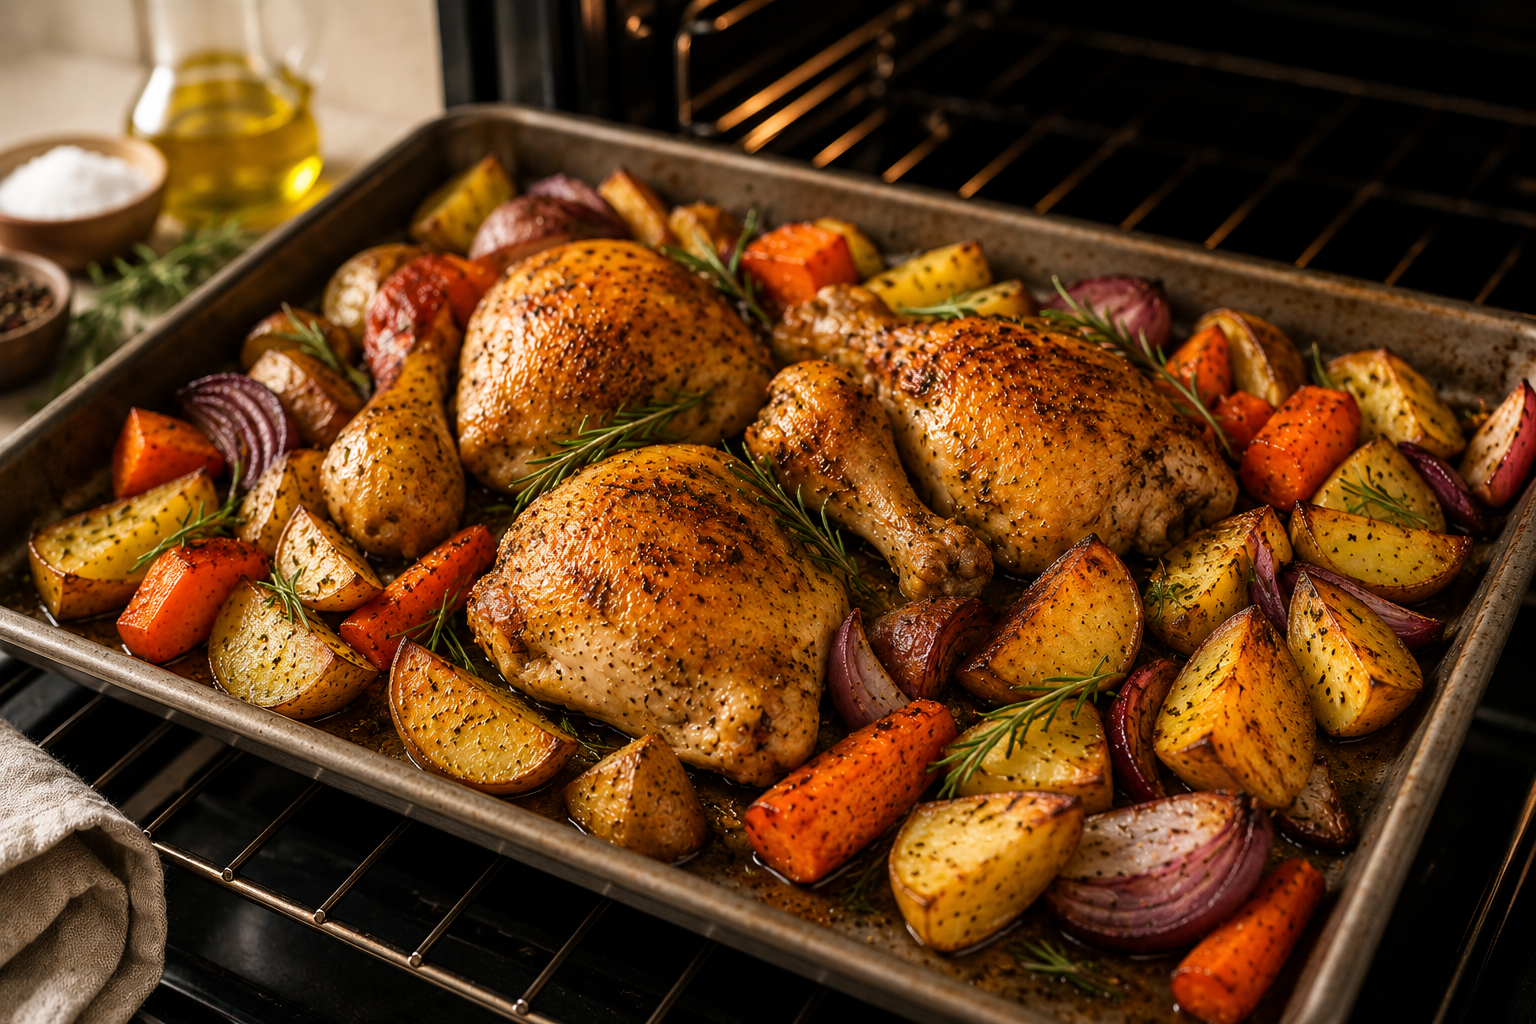
Roasting cooks food uncovered in a hot oven with dry, indirect heat. Temperatures typically range from 375–450°F (190–230°C), with 425°F being a sweet spot for most vegetables and proteins.
Hot air circulating around food creates caramelization and crisp edges while keeping interiors tender. This makes roasting ideal for root vegetables, potatoes, chicken, and many other ingredients where you want both flavor development and texture contrast.
Classic roasted dishes:
Whole roast chicken
Sheet-pan dinners with chicken thighs and vegetables
Roasted carrots and Brussels sprouts
Baked potatoes (though often called “baked,” they’re technically roasted)
Simple roasting steps:
Preheat oven to your target temperature (often 400-425°F)
Cut ingredients into uniform sizes for even cooking
Toss with olive oil, salt, and seasonings
Spread in a single layer on a sheet pan—avoid putting too much food on one pan
Roast, turning once halfway through cooking time
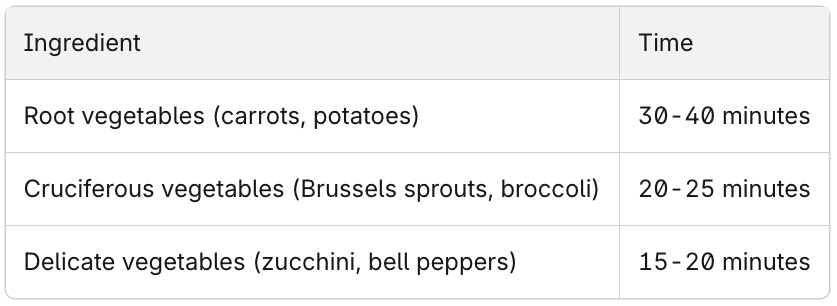
Approximate roasting times at 425°F:
Roasting is perfect for batch cooking on Sundays. Roast vegetables for the week ahead, and you’ve got quick side dishes ready for weeknight meals.
Baking

Baking uses dry heat in an oven at moderate temperatures, most often for breads, cakes, cookies, and casseroles. While roasting and baking are similar, baking typically involves lower temperatures (325-375°F) and often transforms batters or doughs rather than simply cooking solid ingredients.
Common baked goods and dishes:
Banana bread and muffins
Sheet-pan pizzas
Baked pasta dishes
Cookies and cakes
Unlike other cooking methods that allow mid-process adjustments, baking relies on precise measurements and temperature control. This is why recipes specify exact amounts—a tablespoon more flour or ten degrees higher can change results significantly.
Beginner baking tips:
Use proper measuring cups and spoons
Set a timer rather than guessing
Check that your oven runs at the correct temperature (many home ovens vary by 25°F or more)
Avoid opening the oven door frequently, which causes temperature fluctuations
Learning simple recipes like basic muffins or cookies helps beginners understand how leavening and structure work. These principles apply across all baked goods, from crusty bread to delicate pastries.
Moist-Heat Methods: Gentle Cooking with Liquid and Steam
Moist heat cooking involves cooking food in or above liquid—water, stock, wine, or milk. These methods are excellent for delicate ingredients that would dry out under high dry heat, or for tough cuts that need softening over time.
Moist heat methods generally don’t produce browning, but they preserve moisture, subtle flavors, and often more nutrients than aggressive dry-heat cooking. This section covers boiling, simmering, poaching, and steaming—focusing on the most practical applications for everyday home cooking.
Boiling and Simmering
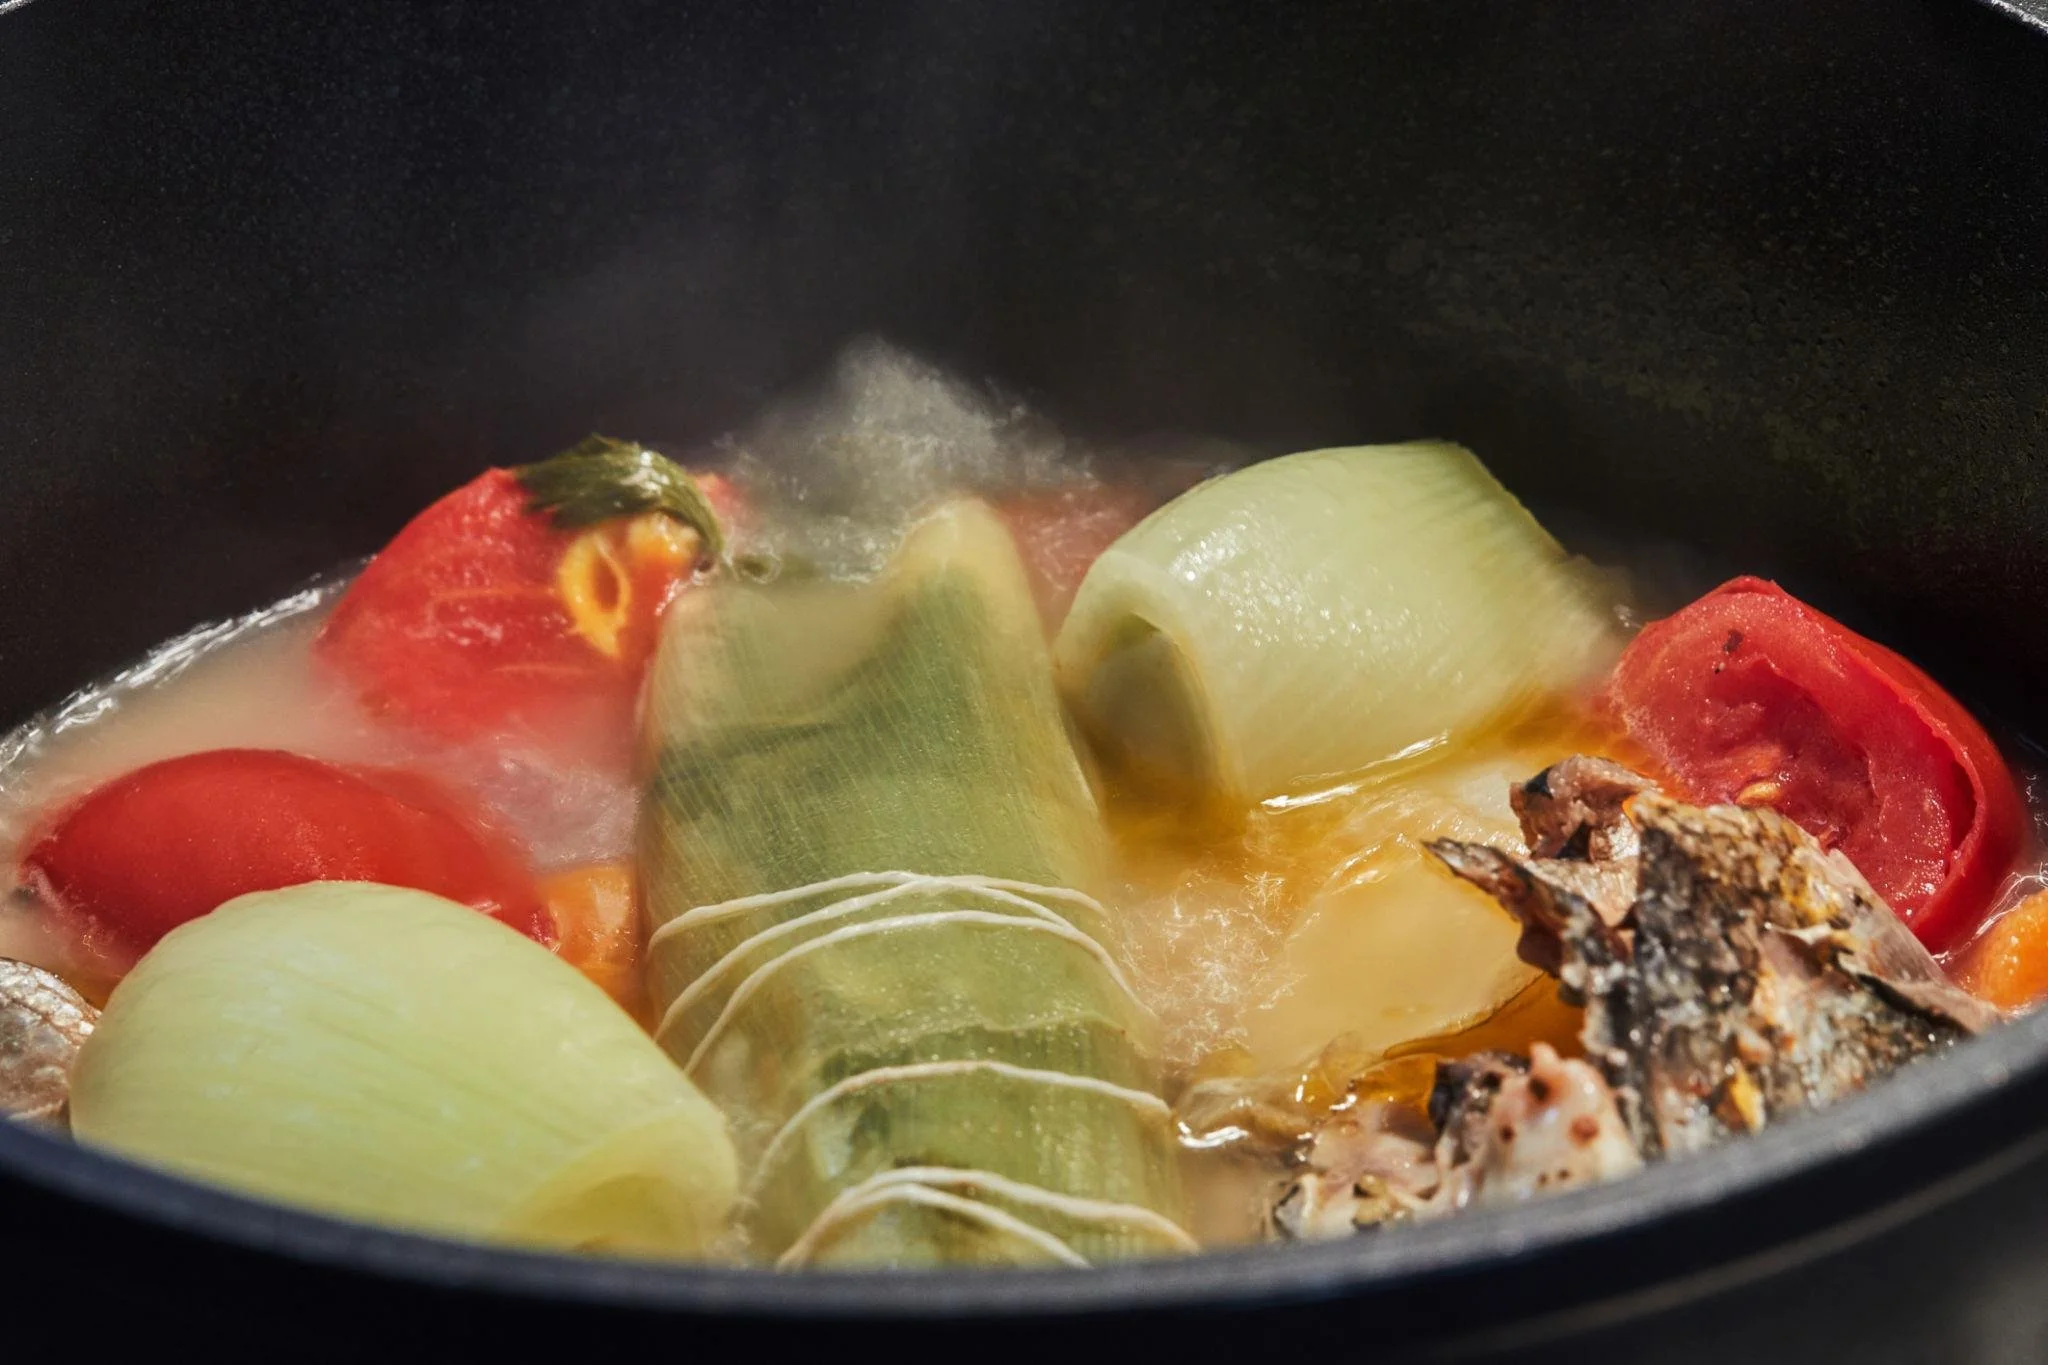
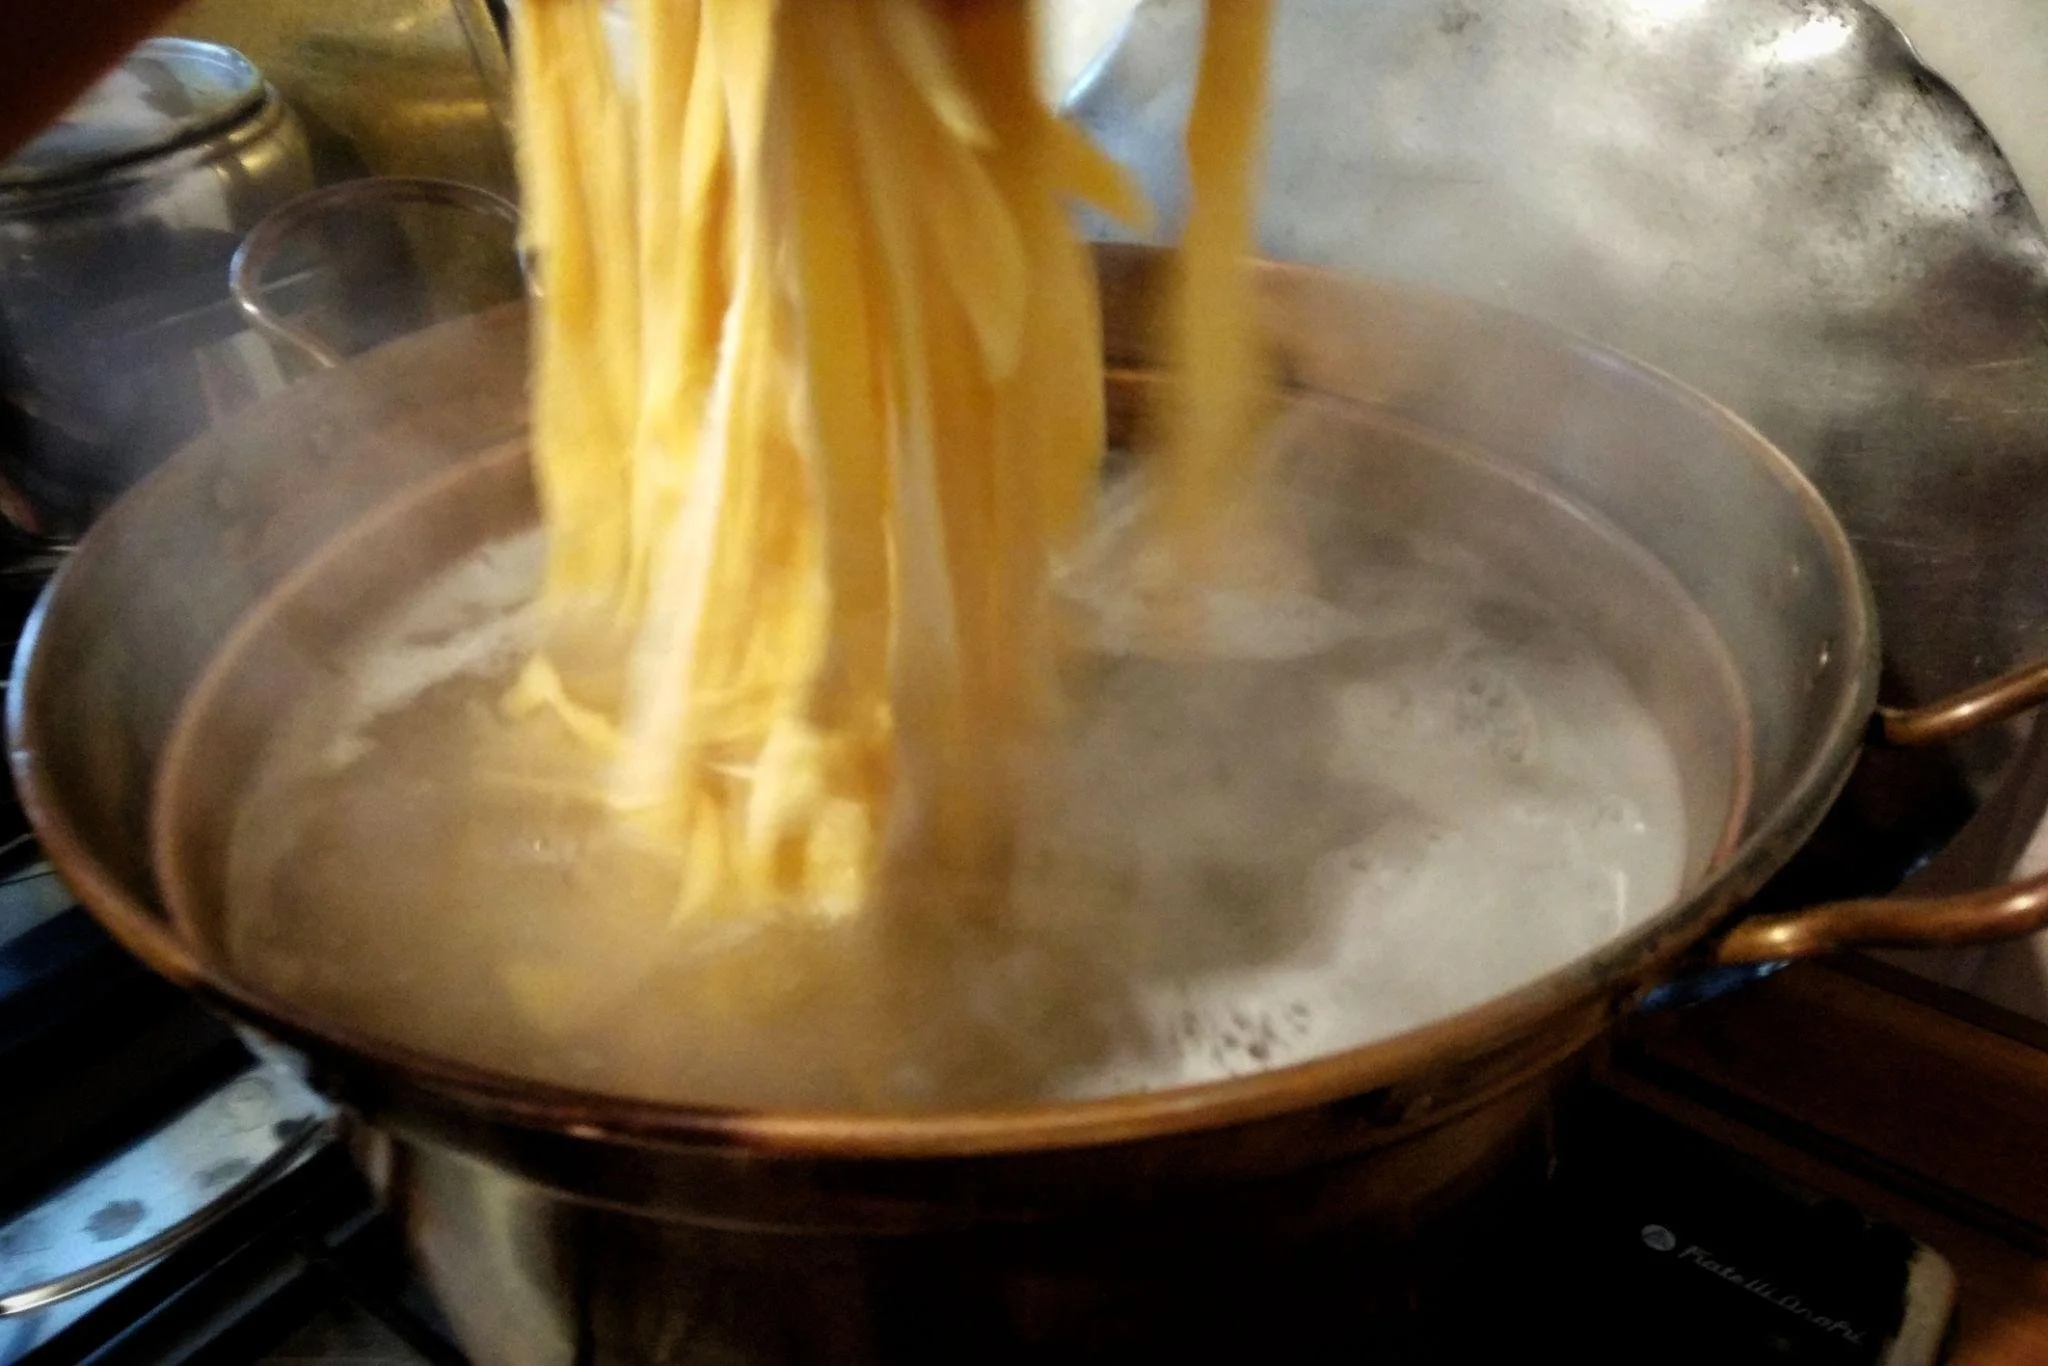
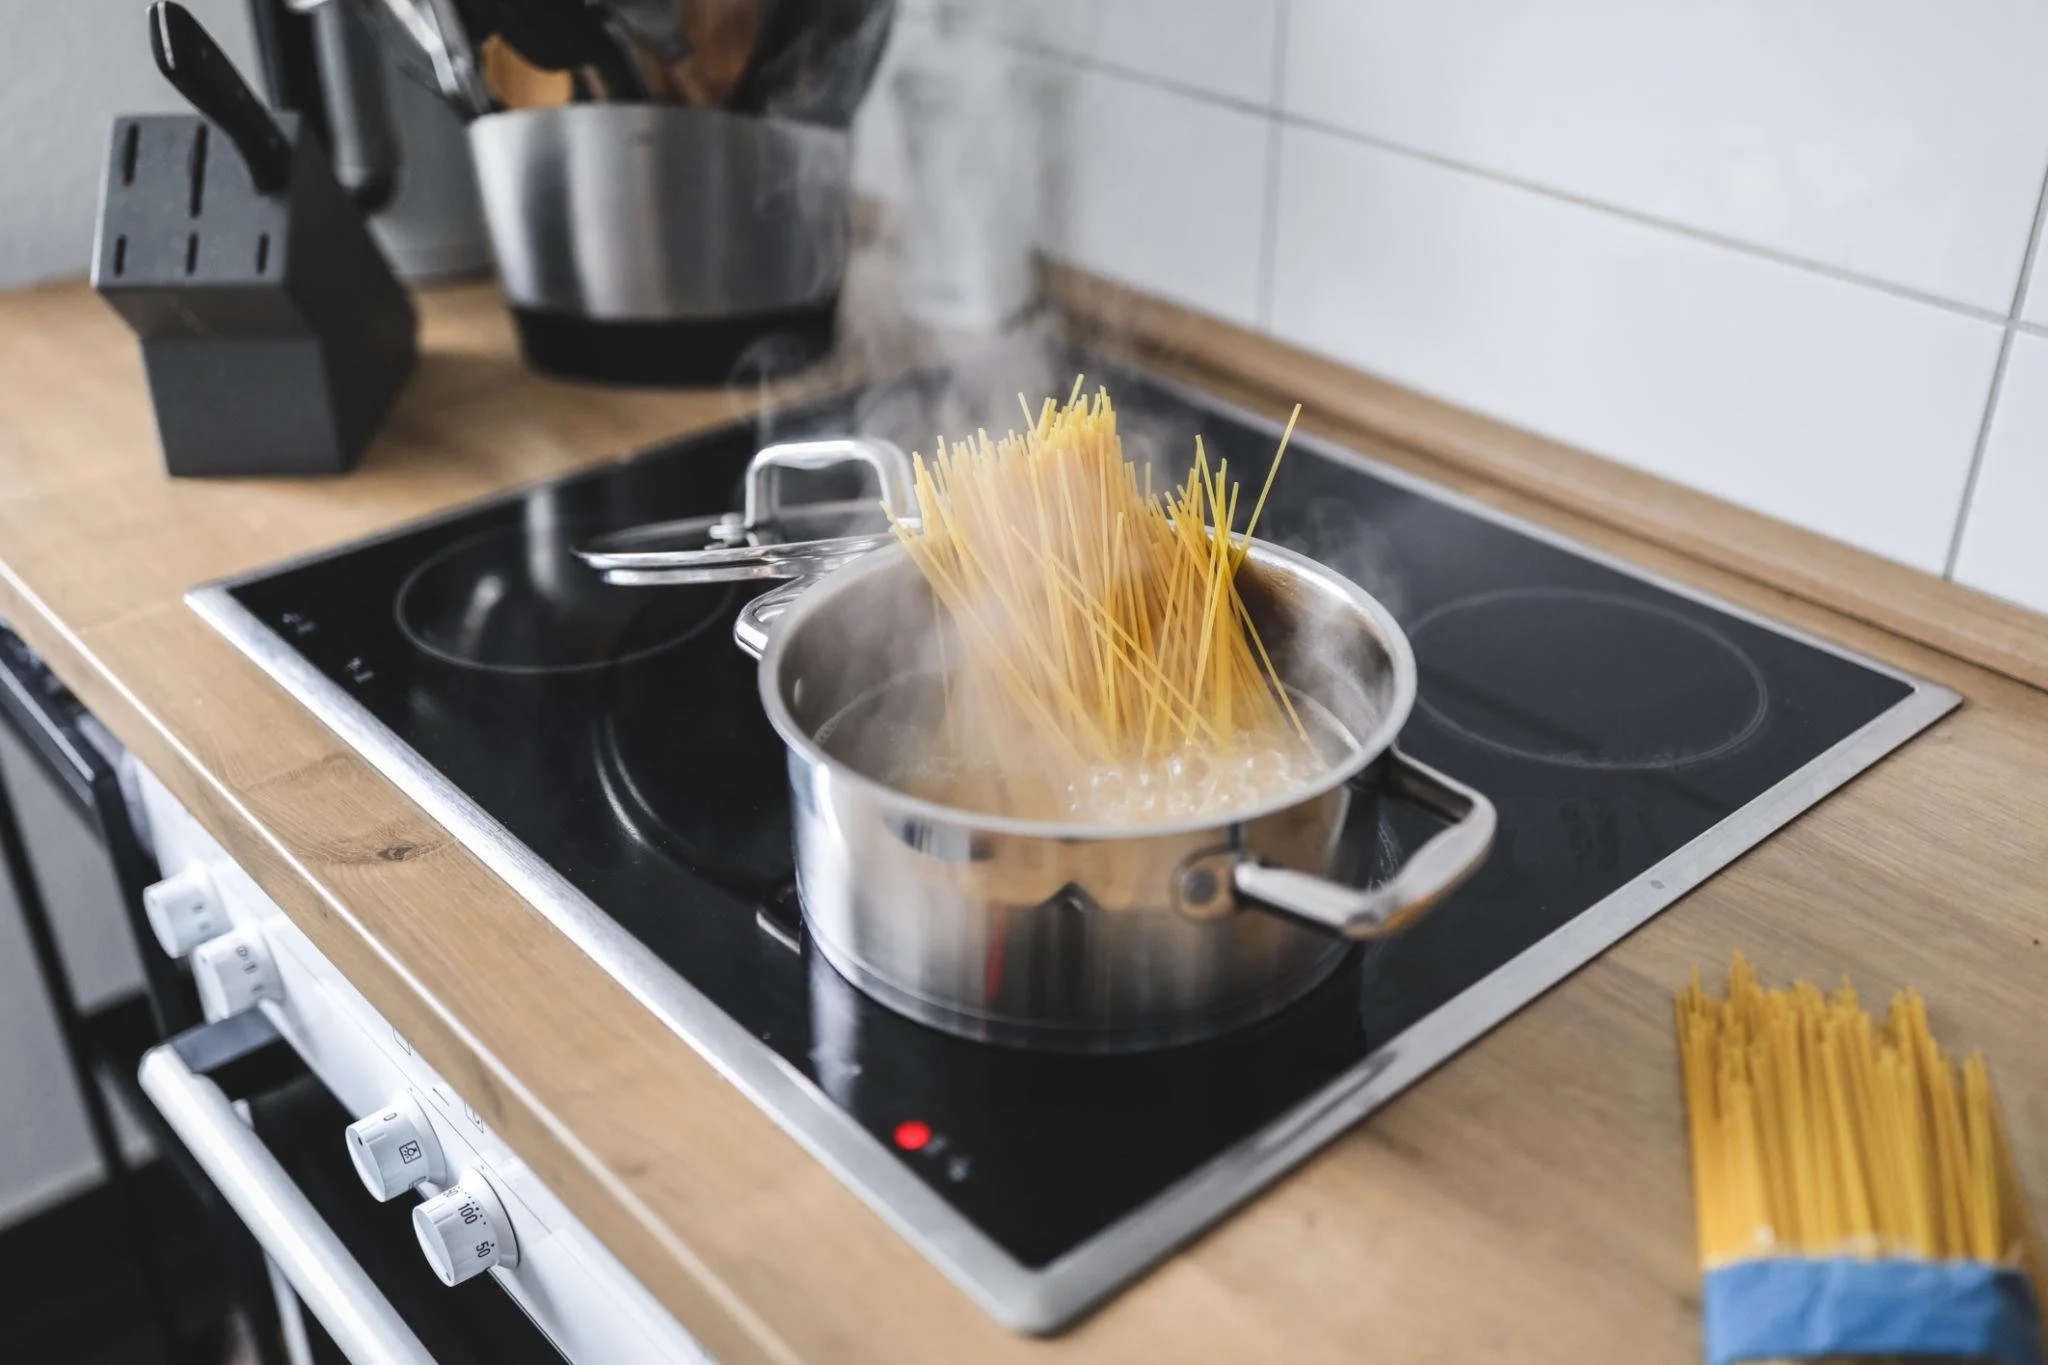
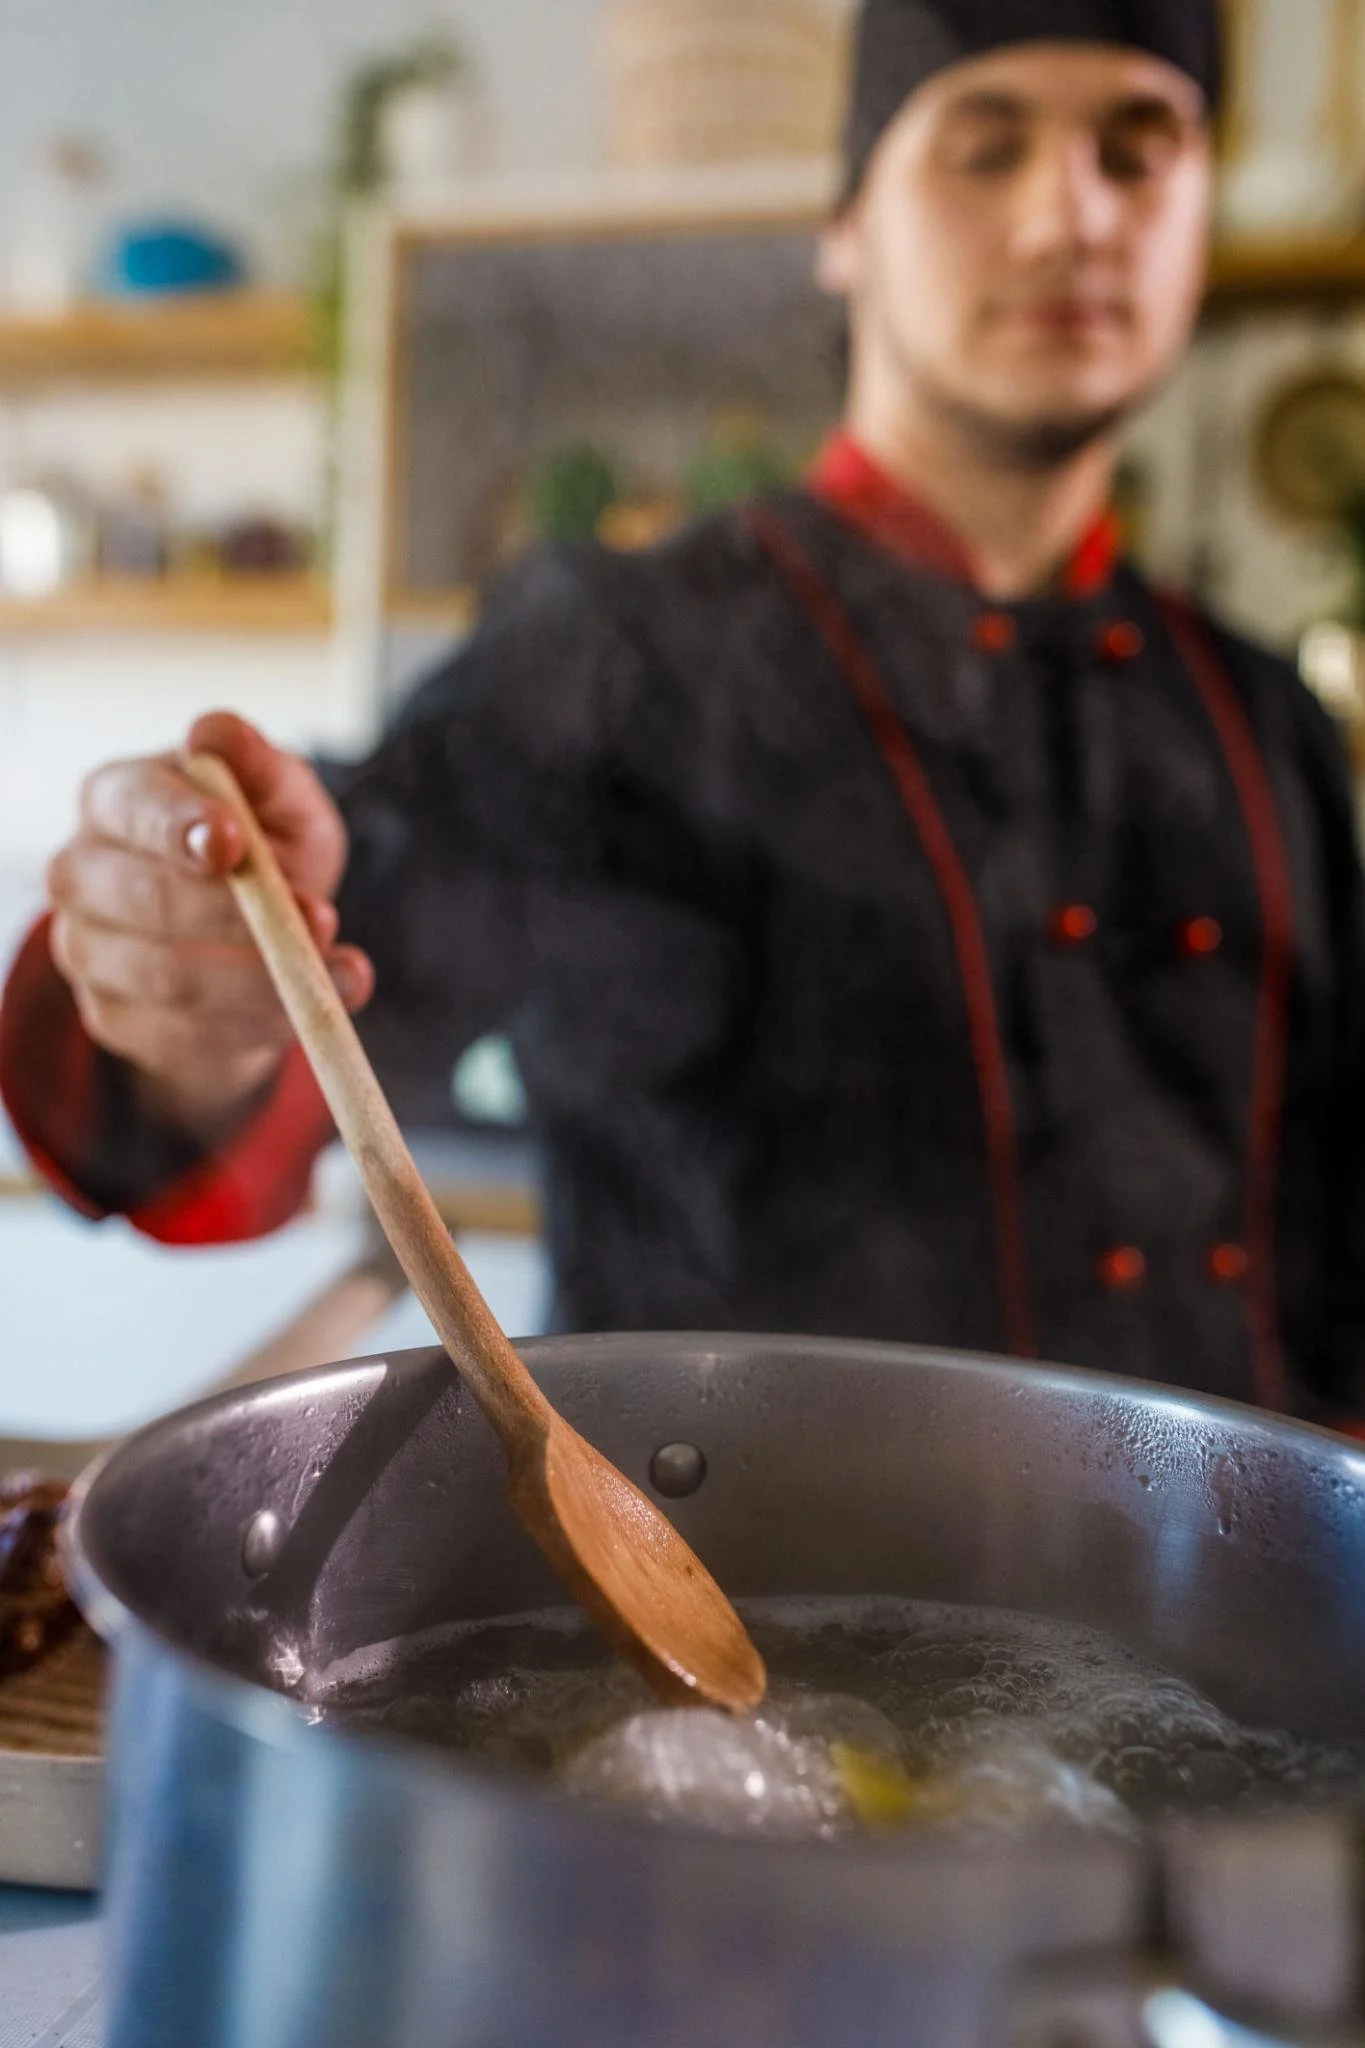
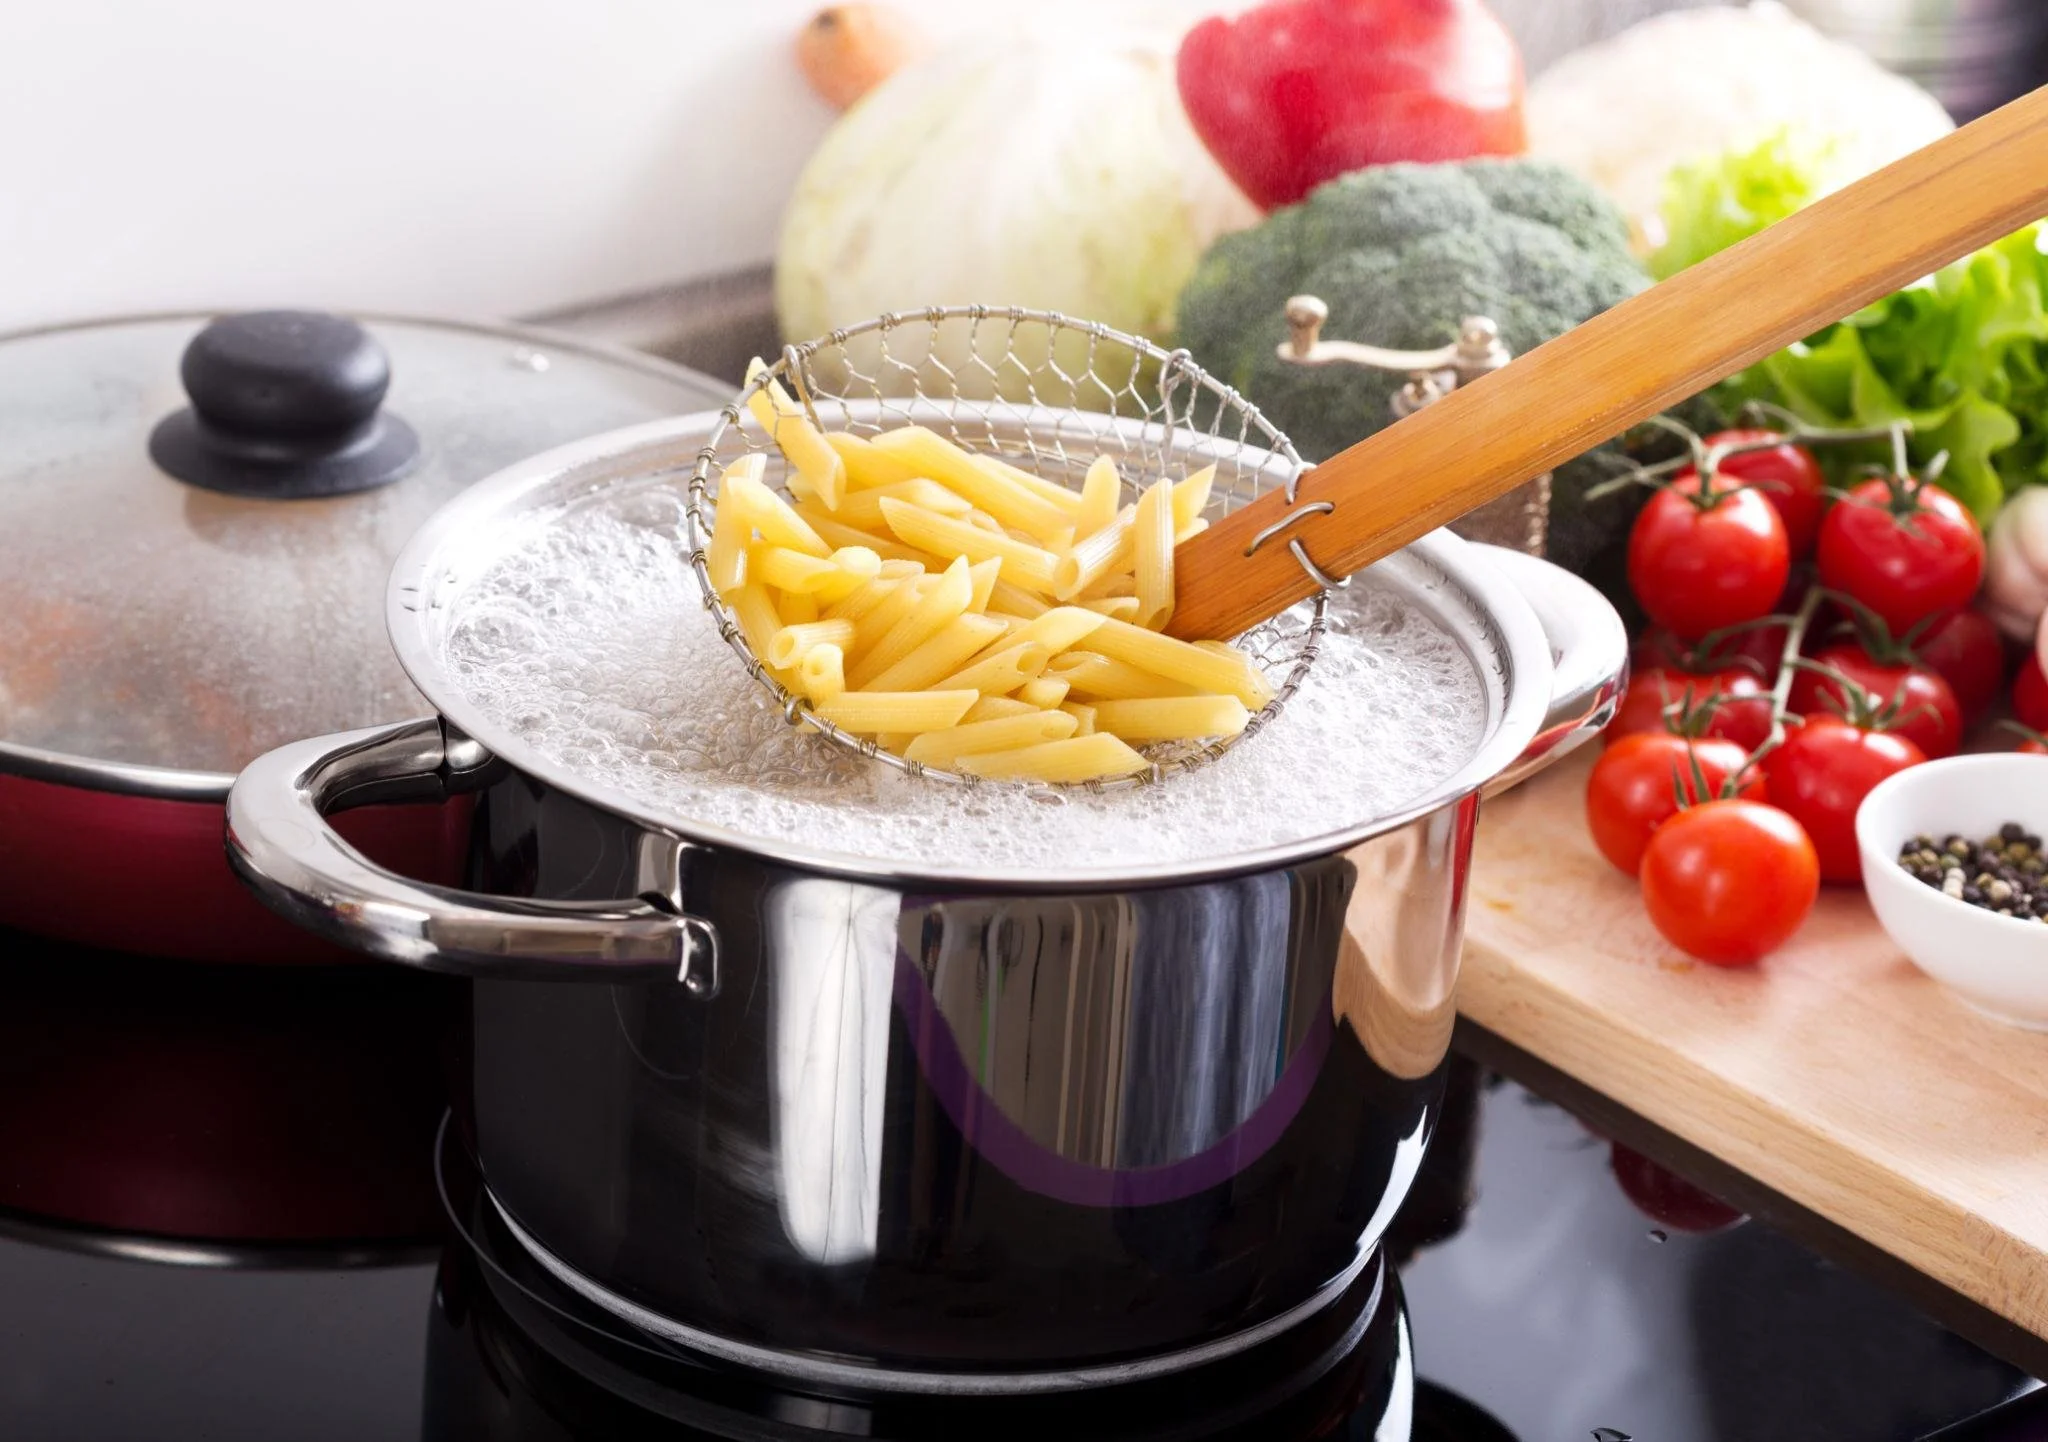
Boiling means cooking food fully submerged in liquid at 212°F (100°C), characterized by large, rolling bubbles that break the surface vigorously. Simmering happens just below that—between 185-205°F (85-96°C)—with smaller, gentle bubbles that barely disturb the surface.
When to boil:
Dried pasta (8-12 minutes depending on shape)
Whole potatoes for mashed potatoes (20-30 minutes)
Hard-cooked eggs
Blanching vegetables before freezing or roasting
When to simmer:
Soups and stews
Chili and curries
Tomato sauce (long, slow cooking develops flavor)
Grains like rice or quinoa
The difference matters because rapid boiling can toughen proteins, break apart delicate foods, and cause excessive evaporation. A low simmer maintains texture while allowing flavors to develop over an extended period.
Adding salt to your cooking liquid is crucial for deeper flavor. Pasta water should taste seasoned—if it’s bland, your pasta will be too. The same applies to water for boiling potatoes.
Poaching
Poaching cooks delicate foods gently in hot liquid below a full simmer, typically between 160-180°F (70-82°C). At this temperature, you’ll see very small or no visible bubbles—the liquid should barely quiver.
Foods ideal for poaching:
Eggs (for eggs Benedict or simply poached eggs)
Salmon fillets and other fish
Chicken breasts for salads
Pears and other fruits for desserts
The gentle heat keeps proteins from seizing up and becoming rubbery. Fish poached properly will be silky and tender; chicken will be moist rather than stringy.
Making poaching liquid more flavorful:
Use chicken or vegetable stock instead of water
Add aromatics: onion, lemon slices, peppercorns, bay leaves
Try milk or a milk-water mixture for fish (classic French technique)
Use wine diluted with water for fruits
A food thermometer helps maintain the proper temperature, but visual cues work too. If you see active bubbles, your liquid is too hot. Lower the heat until movement nearly stops.
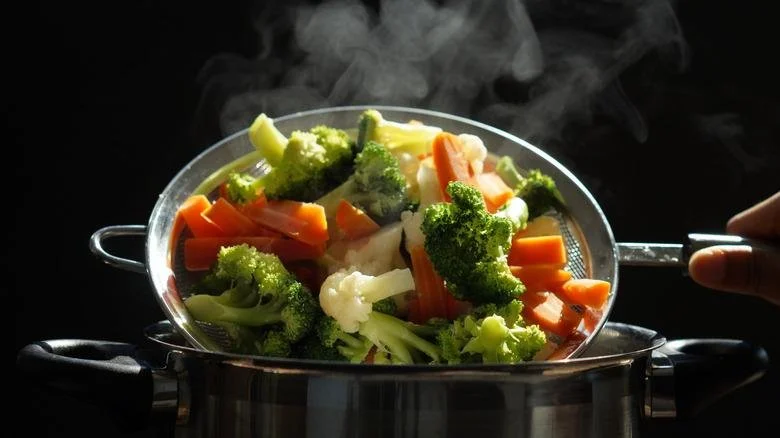
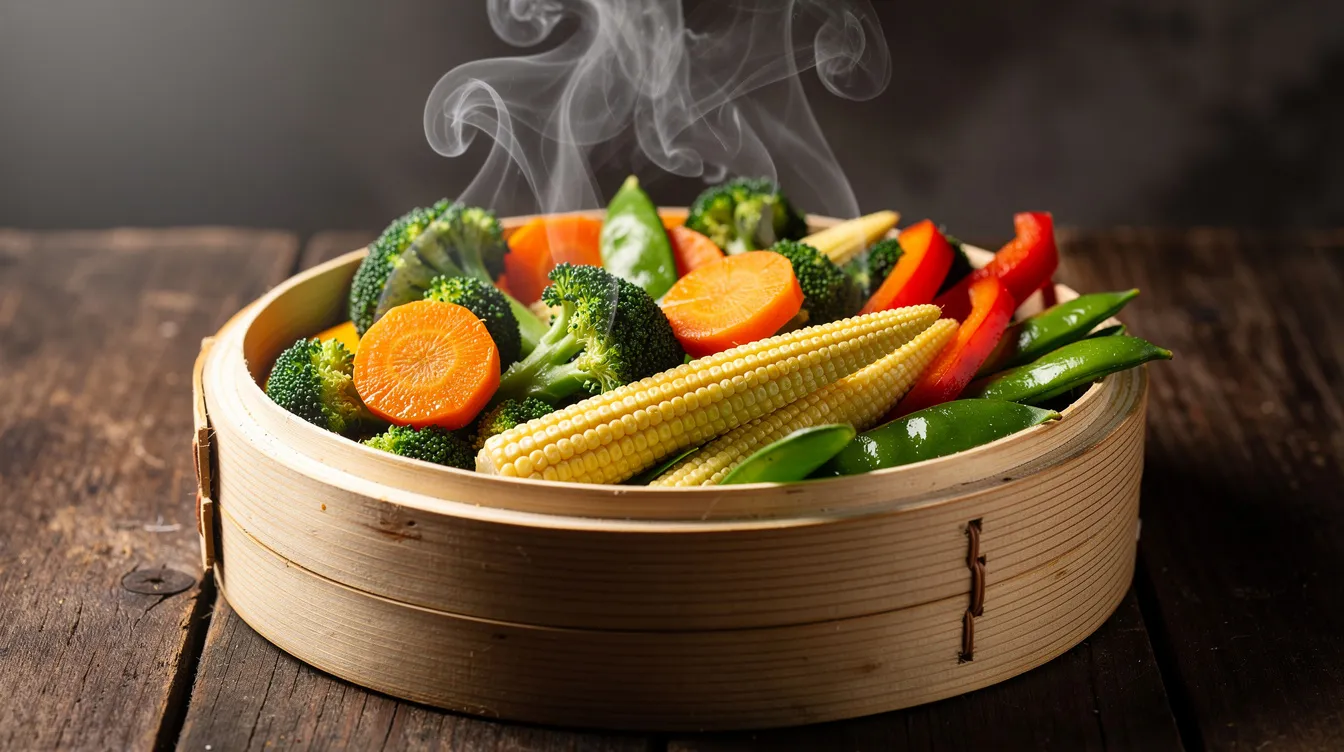
Steaming
Steaming cooks food with hot vapor from simmering water, where ingredients sit above—not in—the liquid. This method preserves color, texture, and nutrients better than boiling because water-soluble vitamins don’t leach into cooking water that gets discarded.
Studies show steaming retains 70-90% of vitamin C in broccoli, while boiling can lose 40-70% depending on cooking time. For health-conscious cooks, steaming offers real nutritional advantages.
Foods that steam well:
Vegetables: broccoli, green beans, carrots, asparagus
Fish fillets (especially delicate white fish)
Dumplings and dim sum
Shellfish like mussels and clams
Simple steaming setups:
Metal steamer basket that fits inside a pot
Bamboo steamers stacked over simmering water
Colander set over a pot with a lid
Steaming times are usually short—3-10 minutes for most vegetables. Overcooking quickly leads to mushy texture, so check early and often. Unlike roasting, you can’t rescue oversteamed vegetables.
Season steamed foods after cooking with olive oil, soy sauce, simple dressings, or a squeeze of lemon. The food moist texture takes on seasonings beautifully when applied at the end.
Combination Methods: Best of Both Worlds

Combination methods start cooking with dry heat to brown ingredients, then finish with moist heat to tenderize. This approach delivers the best of both worlds—complex flavors from browning plus fork-tender texture from slow cooking in liquid.
These methods are especially good for tough, inexpensive cuts of meat—chuck roast, short ribs, pork shoulder—and dense vegetables that need longer cooking. Classic comfort foods from beef stew to braised cabbage rely on combination cooking.
Combination methods often benefit from low temperature cooking in covered pots on the stovetop or in the oven for 1-3 hours. Modern tools like slow cookers and multi-cookers automate this steady, gentle heat, making weeknight braising more practical than ever.
Braising
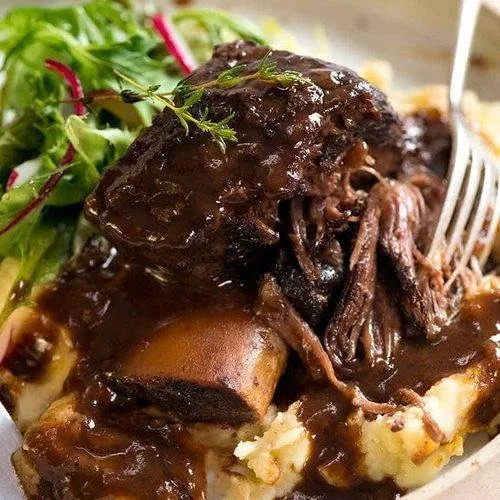
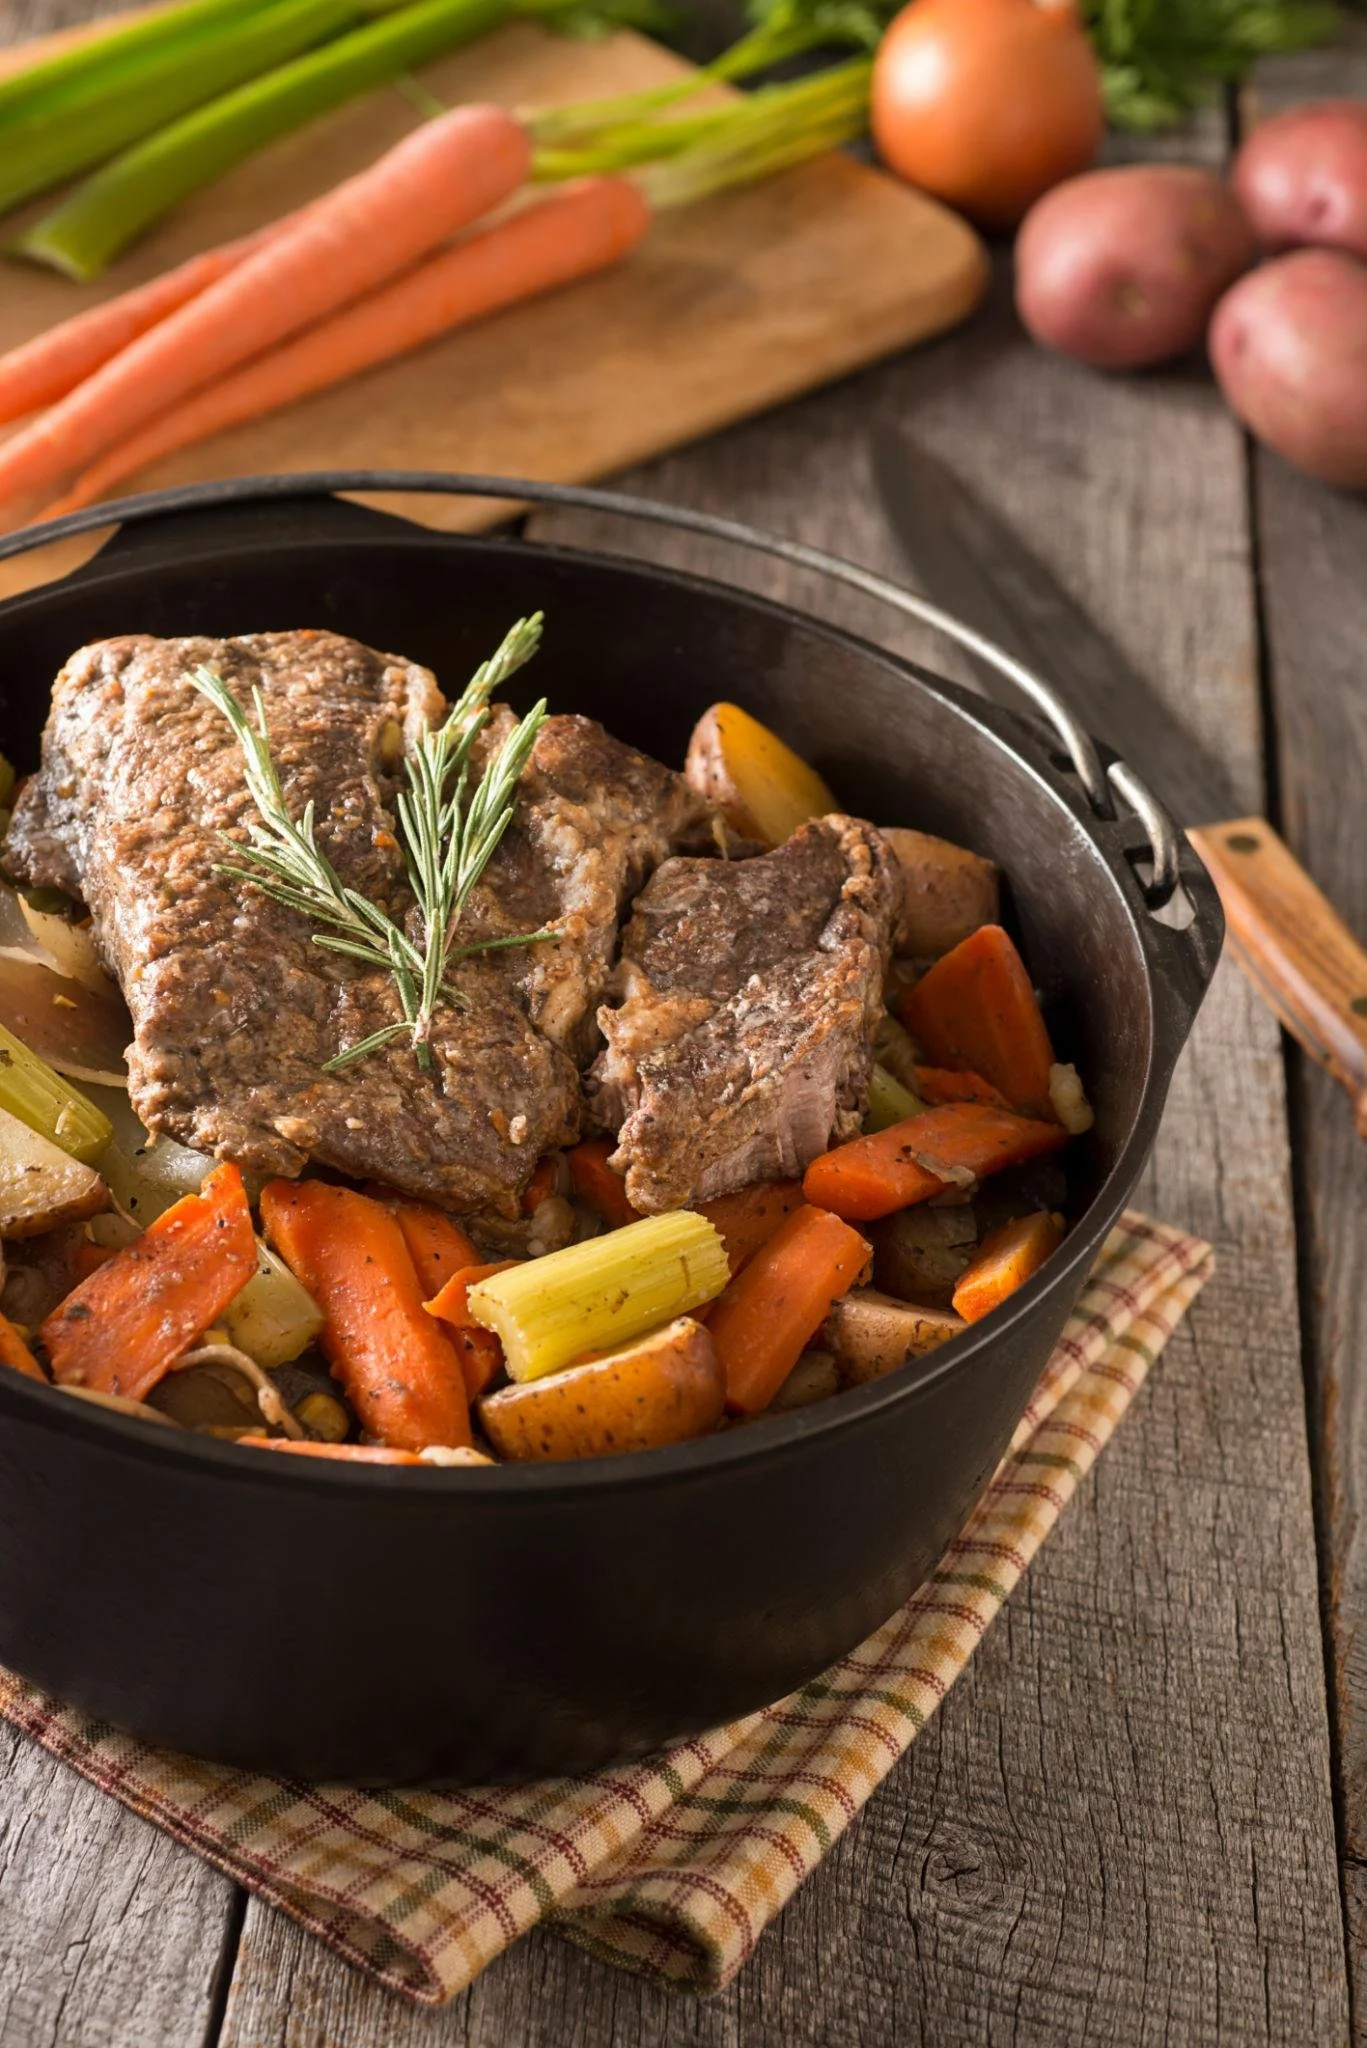
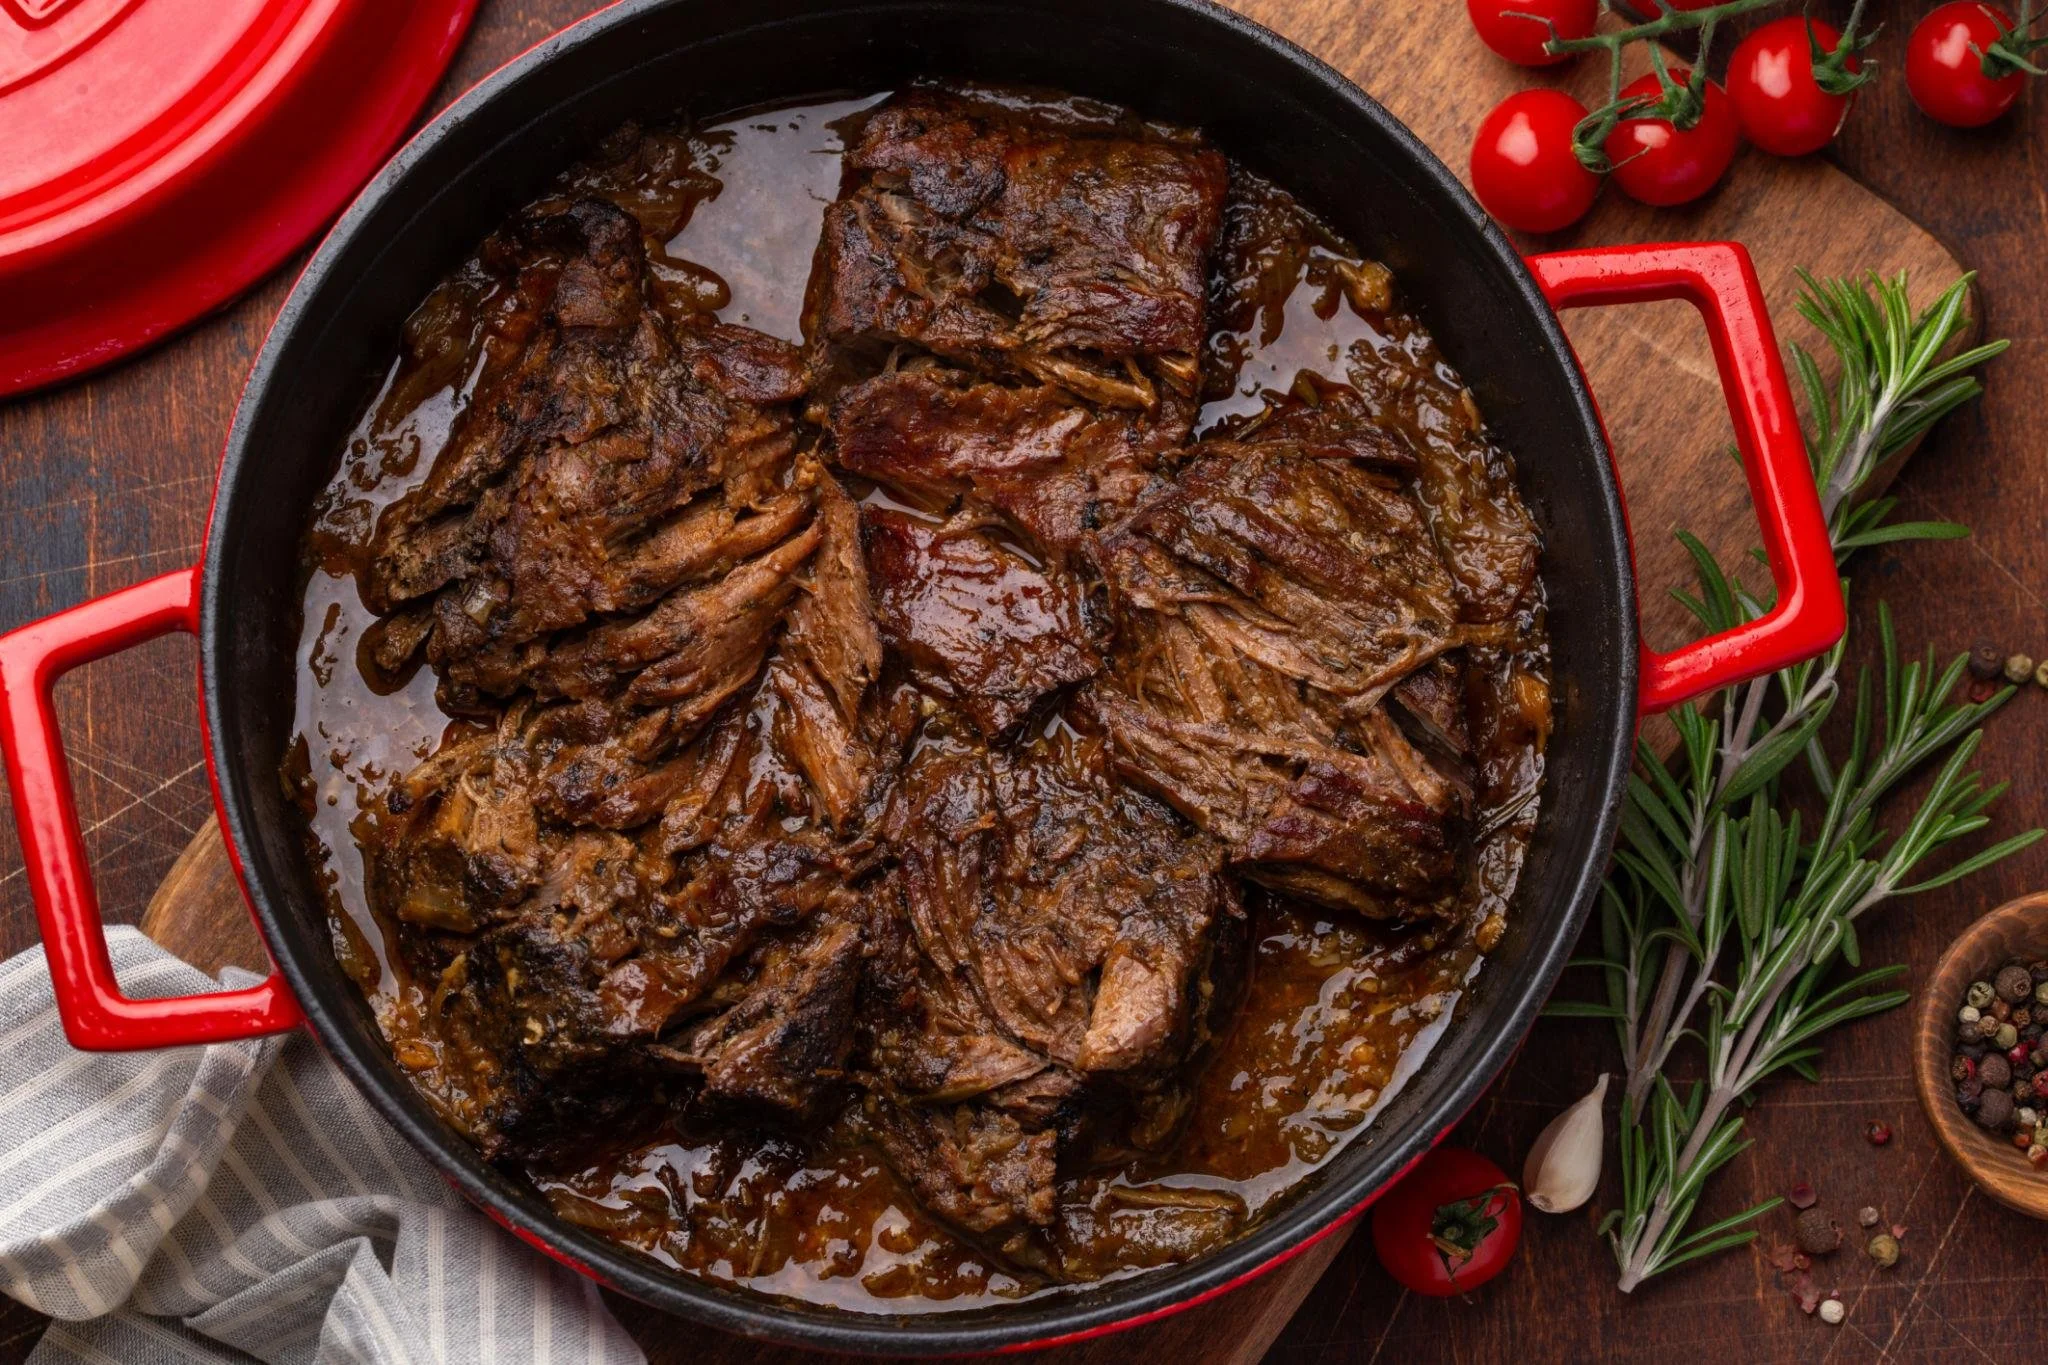
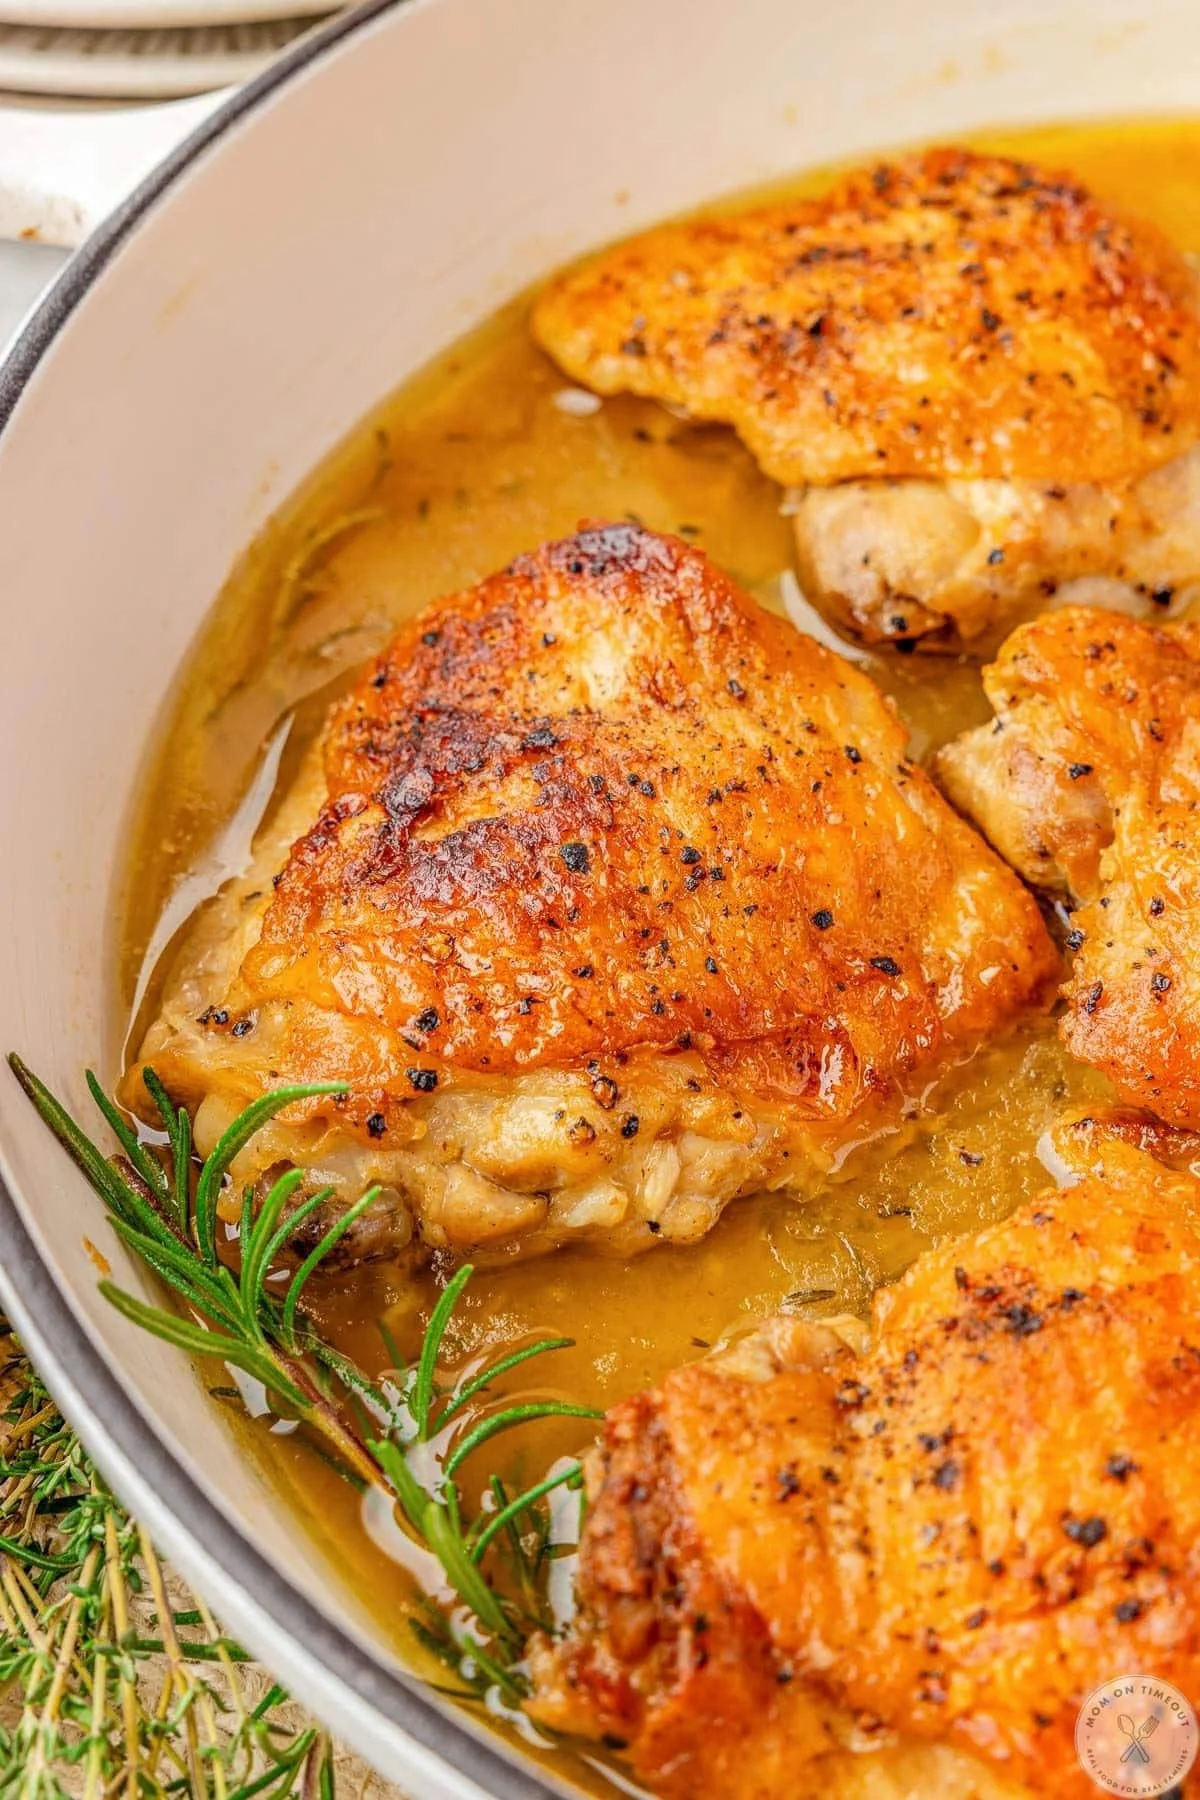
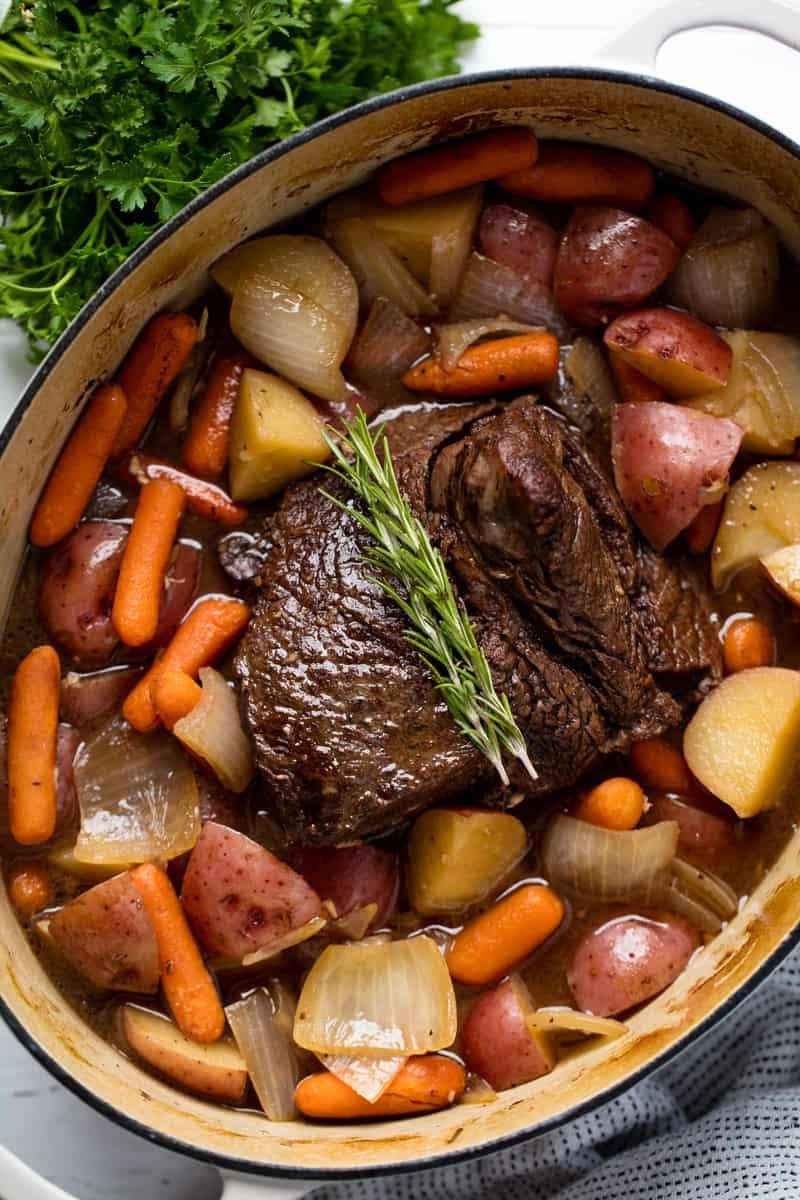
Braising begins with searing food in a little fat to develop browning, then adding a modest amount of flavorful cooking liquid and cooking covered at low heat until very tender. The liquid typically comes about halfway up the sides of the main ingredient, not fully submerging it.
Classic braised dishes:
Beef short ribs with red wine
Pot roast with carrots and potatoes
Braised chicken thighs
Braised cabbage or fennel
Basic braising steps:
Pat meat dry with paper towels (moisture prevents browning)
Season generously with salt and pepper
Sear in a hot pan with oil until browned on all sides
Remove meat, deglaze pan with stock or wine
Add aromatics (onions, garlic, herbs)
Return meat, add liquid halfway up
Cover and cook at low heat (300-325°F oven or low simmer on stovetop)
Cook until fork-tender—usually 2-3 hours for large cuts of meat
Braised dishes often taste better the next day after flavors meld overnight. This makes them ideal for weekend cooking and easy reheating on busy weeknights.
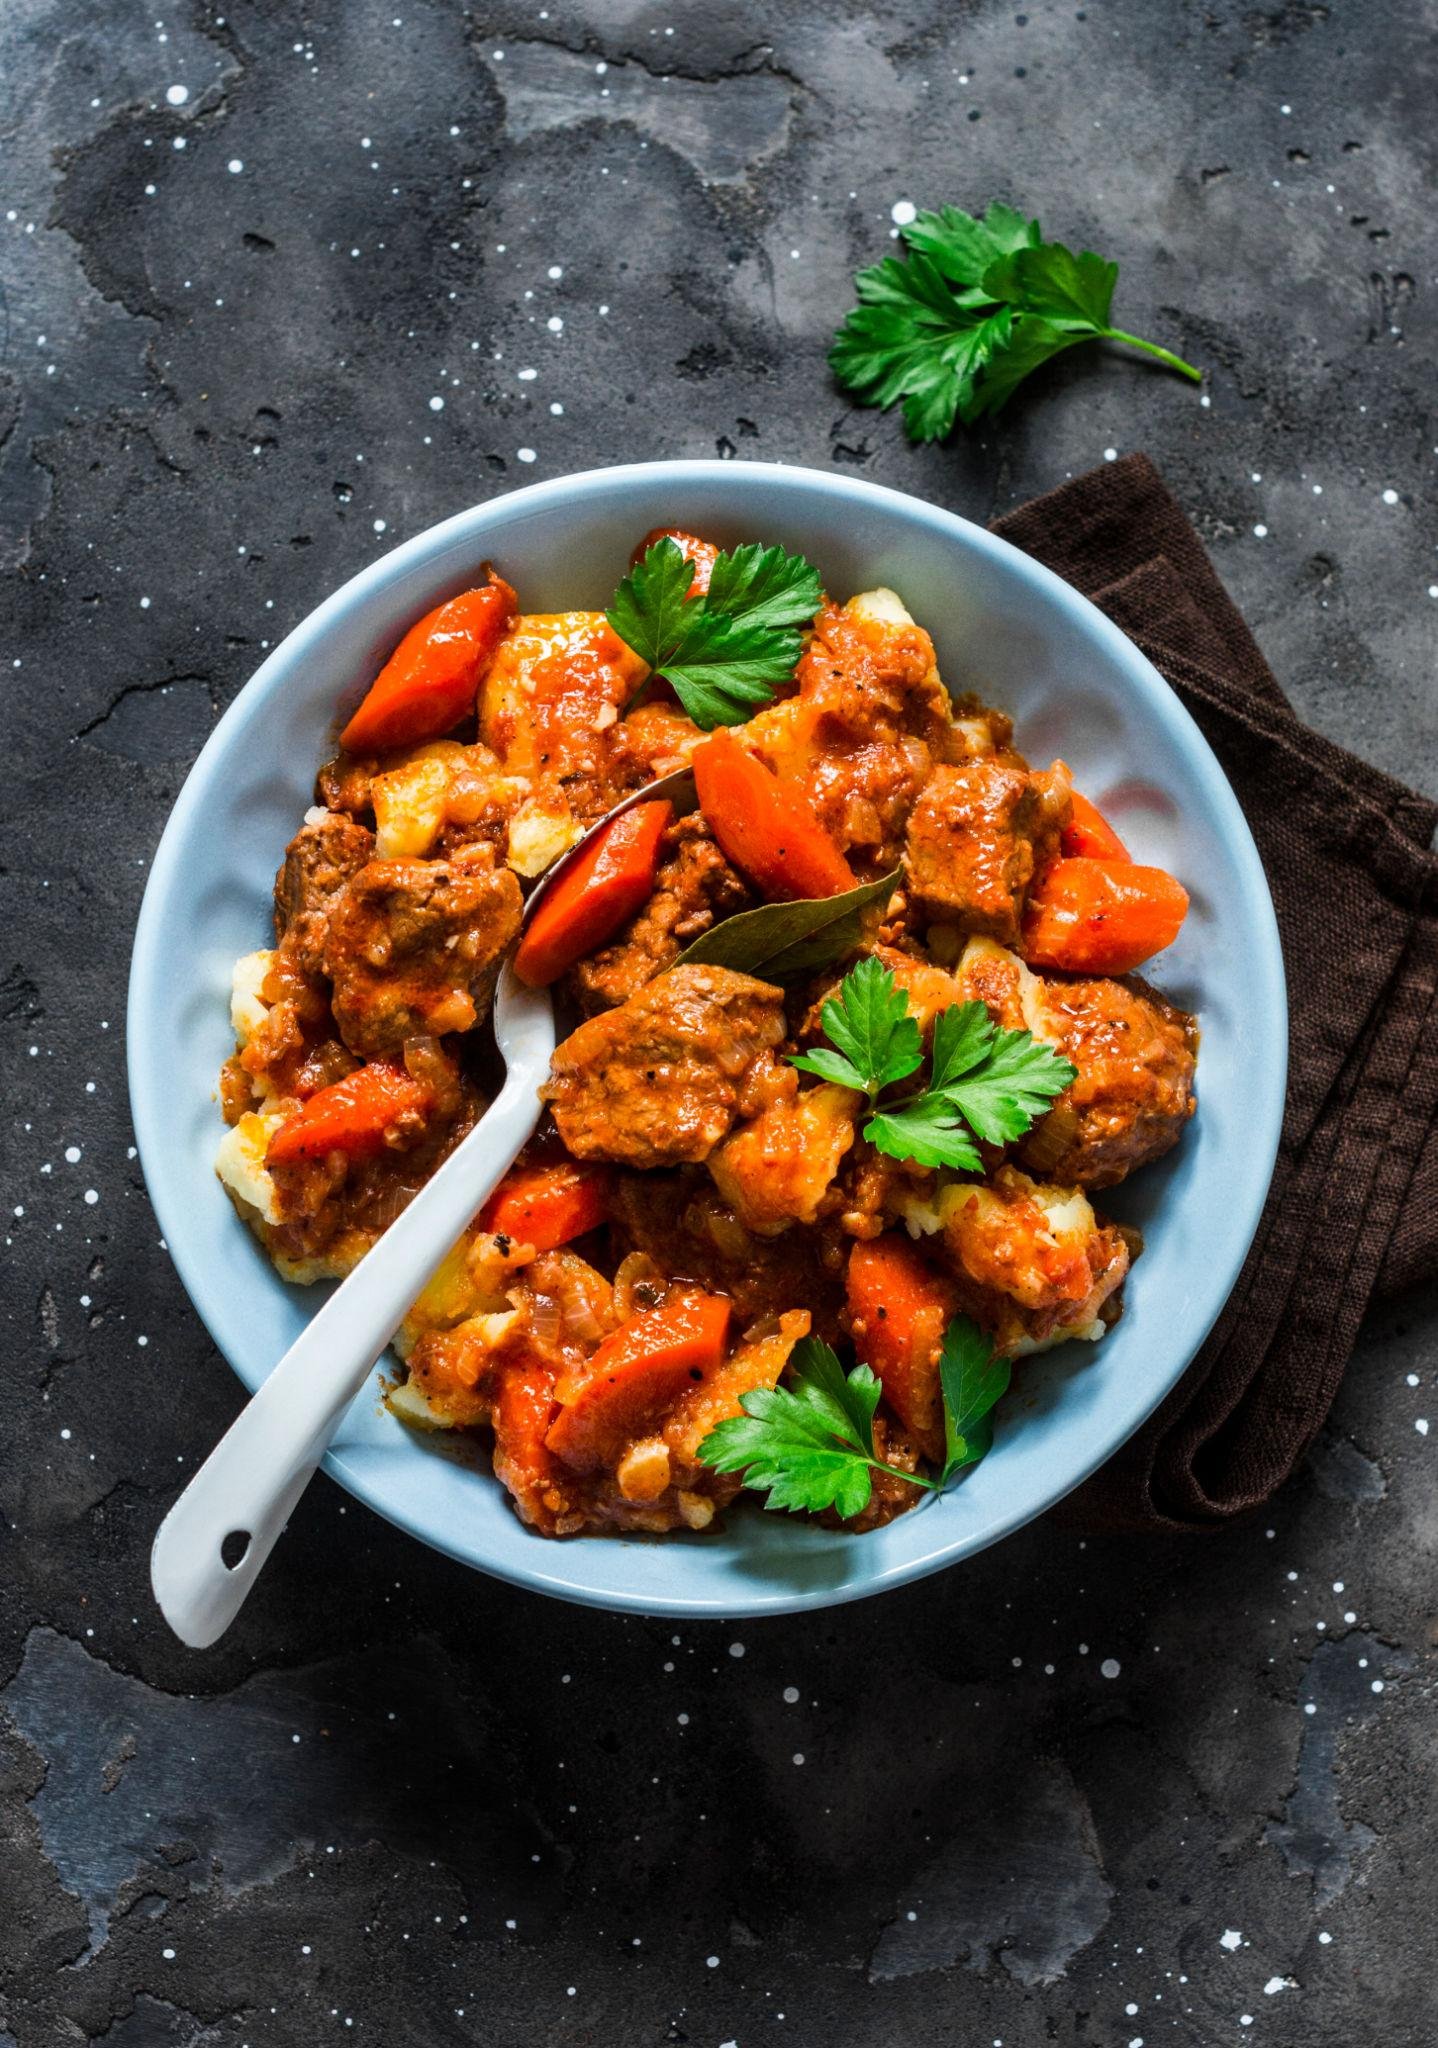
Stewing
Stewing is braising’s close cousin, with one key difference: smaller pieces of food are completely submerged in liquid and cooked slowly until tender. The greater amount of liquid creates a thicker sauce or gravy that becomes the dish’s main component alongside the solids.
Popular stewed dishes:
Beef stew with potatoes and carrots
Lentil or bean stews
Chicken and vegetable stew
Chili and curry-style stews
Stewing works well with less-expensive cuts and pantry staples like canned beans, making it budget-friendly and filling. A slow cooker can handle most stews with minimal supervision—add ingredients in the morning and return to a complete dinner.
The key is slow, gentle simmering rather than rapid boiling. High heat toughens meat and causes vegetables to fall apart before proteins become tender. Keep the cooking liquid at a lazy bubble and let time do the work.
Stews are ideal for large-batch cooking. Make a double batch, portion into dated containers, and freeze for future meals throughout the month.
Helpful Secondary Techniques to Support Basic Methods

Beyond the main methods, several smaller techniques help build deeper flavor and better texture. These are tools within your cooking toolbox—specific actions you’ll use across multiple methods.
Caramelizing
Caramelizing slowly cooks natural sugars in foods until they turn golden brown and develop complex sweetness. This technique works beautifully with onions, carrots, and other vegetables with high sugar content.
Classic example: Caramelized onions for burgers, pizza, French onion soup
Key approach: Low to medium heat, patience, frequent stirring
Timing: 25-40 minutes for deeply caramelized onions—much longer than basic sautéing
The extended period allows sugars to break down gradually without burning. Rushing with high heat leads to bitter, burnt edges rather than sweet, jammy results.
Caramelized onions can be made in large batches and refrigerated for up to a week, providing quick flavor boosts for weekday meals.
Deglazing and Reducing
Deglazing adds liquid (stock, wine, or water) to a hot pan to dissolve the browned bits (fond) left after sautéing or roasting. This captures all that concentrated flavor stuck to your roasting pan or skillet.
Reducing means simmering a liquid to evaporate water, thicken texture, and concentrate flavor. Reduced sauces have more body and punch than their starting liquids.
Practical applications:
Making a quick pan sauce for chicken with stock and mustard
Reducing balsamic vinegar into a syrupy drizzle for salads
Creating wine-based sauces for steak
Scrape the pan with a wooden spoon while the liquid simmers to incorporate all the caramelized bits. Taste frequently during reduction—it’s easy to go from rich and concentrated to overly salty or burnt.
Folding
Folding gently combines ingredients without deflating air—critical in baking and when working with whipped egg whites or cream.
When to fold:
Incorporating whipped egg whites into chocolate mousse
Adding berries to pancake batter
Combining dry and wet ingredients for delicate cakes
Folding technique:
Cut through the center of the mixture with a spatula
Scoop around the sides of the bowl
Turn mixture over and repeat
Continue until just combined
Overmixing during folding deflates air and leads to dense cakes or collapsed mousses. Stop as soon as streaks disappear—“just until combined” is the goal.
Essential Tools for Basic Cooking Methods
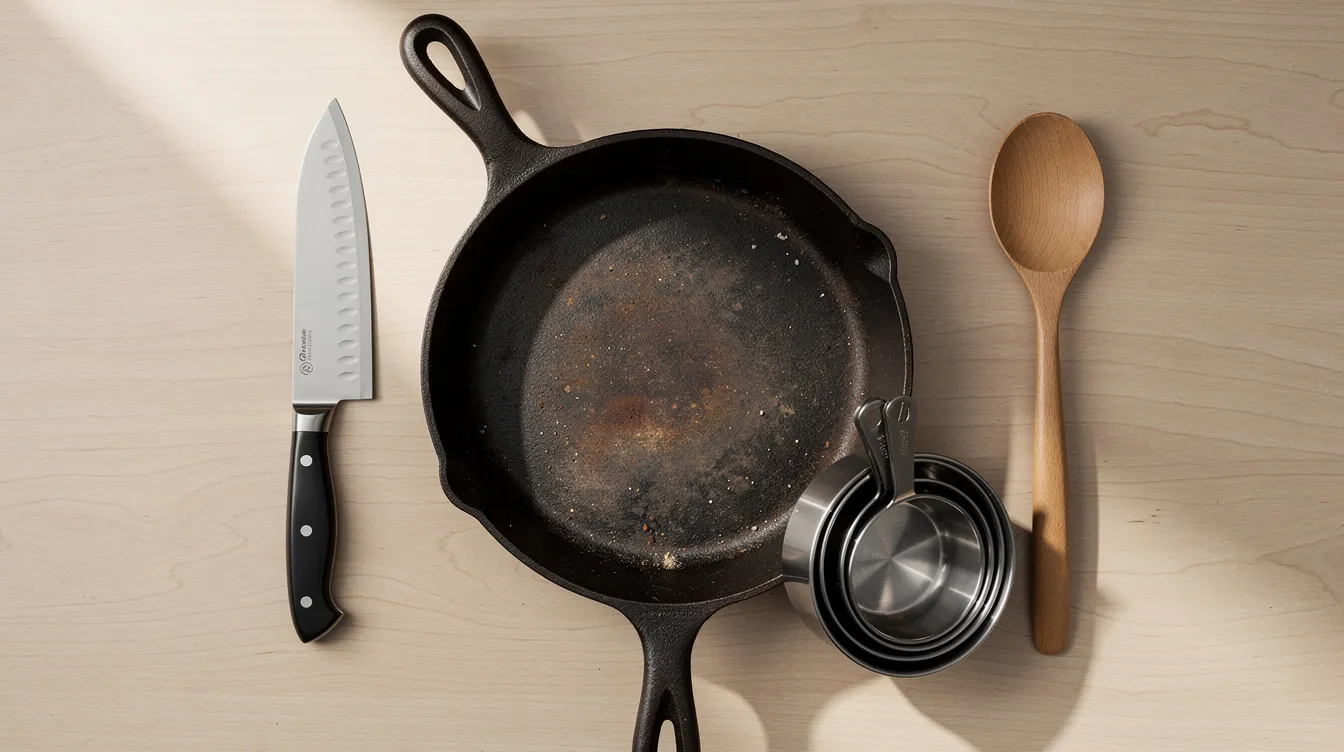
Mastering basic cooking techniques doesn’t require a professional kitchen. A few reliable tools will cover most methods and last for years.
Core essentials:
8-10 inch chef’s knife (keep it sharp for knife skills to develop naturally)
Large cutting board (non-slip surface adds safety)
10-12 inch skillet (stainless steel or cast iron)
Medium saucepan (2-3 quart) for simmering and sauces
Large stockpot for boiling pasta and making soups
Sheet pan with rim for roasting
Oven-safe baking dish for casseroles and braising
Helpful add-ons:
Steamer basket (inexpensive and fits most pots)
Tongs for turning and lifting
Instant-read food thermometer for checking proper temperature
Measuring cups and spoons for baking
Heat-resistant spatula
Prioritize durability and safety—sturdy handles, stable bases, non-slip boards—over specialized gadgets. A well-maintained small collection of quality tools beats a drawer full of rarely-used contraptions.
Keep knives sharpened (a dull knife is more dangerous than a sharp one) and pans properly cleaned to support safer, more effective cooking.
Common Beginner Mistakes (and How to Avoid Them)
Mistakes are normal when learning to start cooking, but some predictable errors can be avoided with simple habits.
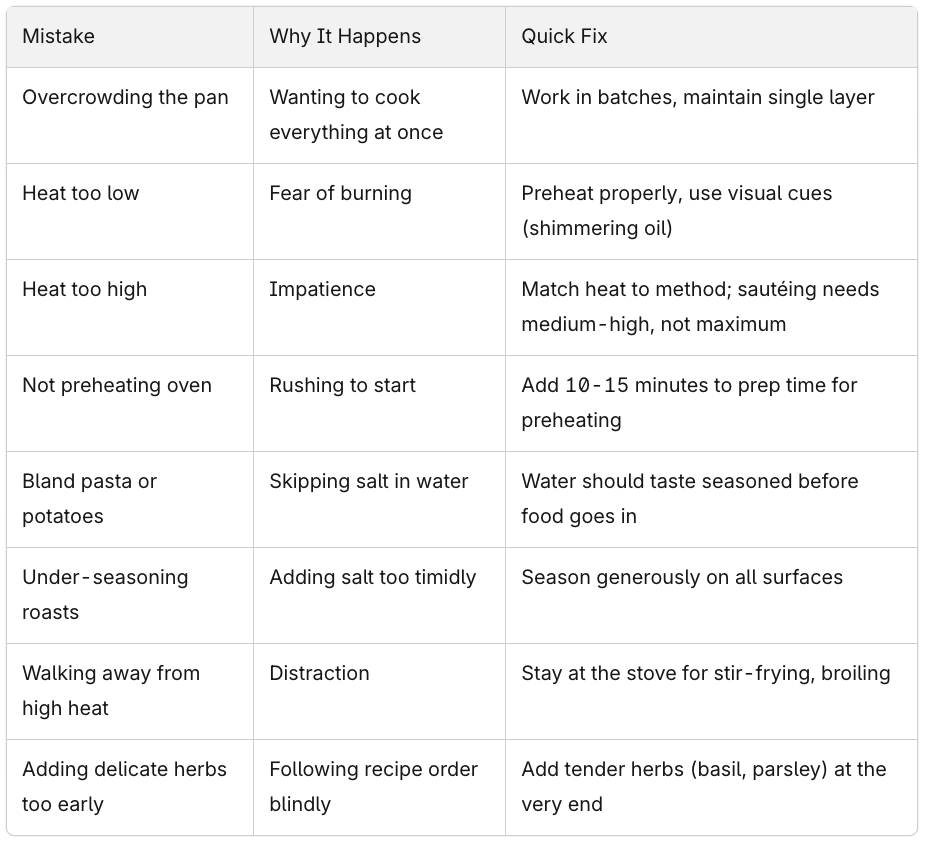
Focus on correcting one habit at a time rather than overhauling everything. Once preheating becomes automatic, move on to proper seasoning. Building habits sequentially makes them stick.
Practicing and Improving Your Cooking Methods at Home
Repetition and observation are the fastest ways to gain comfort with traditional cooking methods. You don’t need exotic ingredients—simple, affordable foods teach the same principles as expensive ones.
Week-by-week practice plan:
Week 1: Focus on sautéing (make sautéed vegetables, chicken strips)
Week 2: Practice roasting (roast vegetables, sheet-pan dinner)
Week 3: Work on boiling and simmering (pasta, simple soup)
Week 4: Try braising (pot roast or braised chicken thighs)
Keep a brief cooking notebook or digital note to record times, temperatures, and what worked or didn’t. These notes become your personal reference for simple recipes you’ve refined over time.
Forgiving practice ingredients:
Chicken thighs (more forgiving than chicken breasts)
Carrots, onions, potatoes
Canned beans (can’t really overcook them)
Cabbage (cheap and versatile)
Eggs (inexpensive, quick feedback)
Watching trusted instructional videos or step-by-step photo guides can reinforce learning, but real progress comes from actually cooking dishes regularly. Each time you cook, you’ll notice something new about how heat affects food.
Conclusion: Building Confidence with Basic Cooking Methods

Mastering a small set of methods—boiling, steaming, sautéing, stir-frying, roasting, baking, and braising—opens up hundreds of everyday recipes. These aren’t advanced culinary arts techniques reserved for professionals; they’re practical skills any home cook can develop.
Understanding how heat and cooking time affect ingredients lets you adjust most recipes instead of following them rigidly. When you know why you’re sautéing aromatics before adding liquid, or why braised meat needs low heat for hours, you become a more intuitive cook.
View each meal cooked at home as practice rather than a test. Even imperfect results build long-term skill. That first pot roast might be slightly tough; the second will be better. Those overcooked vegetables teach you to check earlier next time.
Start with one or two methods this week. Roast a sheet pan of vegetables with olive oil and salt. Sauté chicken for a quick weeknight dinner. Build from there as confidence grows.
Good cooking is less about natural talent and more about patient practice with these foundational methods. The more you cook things at home, the more comfortable you’ll become with heat source control, timing, and flavor building. Every home cook who seems effortless in the kitchen started exactly where you are now.
Frequently Asked Questions (FAQ)

Which cooking methods are healthiest for everyday meals?
Steaming, boiling, poaching, and baking with minimal added fat are generally considered healthier options because they use less oil and can preserve more nutrients. Steaming is particularly effective—research shows it retains 70-90% of vitamin C in vegetables, compared to 30-60% when boiling.
Roasting and sautéing can also be healthy when done with moderate amounts of heart-healthy fats like olive oil or avocado oil. Deep frying is usually less healthy for regular use due to higher fat absorption, but enjoying it occasionally won’t harm an otherwise balanced diet.
Focus on overall meal balance—plenty of vegetables, lean proteins, and whole grains—rather than obsessing over only the cooking method. Most recipes become healthier when you control the ingredients at home.
How do I know which method to use for a new ingredient?
Tender ingredients like fish fillets, shrimp, leafy greens, and tender vegetables usually do well with quick methods—sautéing, stir-frying, steaming, or short roasting times. These foods don’t need long cooking to become palatable and can easily overcook.
Tougher cuts of meat like beef chuck, pork shoulder, and lamb shanks are better with moist or combination methods like braising or stewing. These cuts contain more connective tissue that needs an extended period of gentle heat to break down into tender, succulent meat.
When trying something unfamiliar, search for a simple recipe using that ingredient plus the word “basic” (for example, “basic roasted cauliflower recipe”). Try cooking the same ingredient with two different methods on separate days to compare textures and flavors—you’ll quickly develop preferences.
Do I really need a thermometer to use these methods safely?
While not absolutely required, an inexpensive instant-read food thermometer greatly improves both safety and consistency, especially for meat and poultry. Guessing doneness by appearance alone can harbor bacteria risks or lead to overcooked, dry results.
Key internal temperatures to know:
Chicken and turkey: 165°F (74°C)
Pork (whole cuts): 145°F (63°C) with 3-minute rest
Ground beef: 160°F (71°C)
Fish: 145°F (63°C)
For methods like braising and stewing, visual cues (fork-tender meat, clear juices) also indicate doneness when a thermometer isn’t available. But for roasted chicken or thick steaks, a thermometer removes guesswork and protects both taste and food safety.
How can I practice without wasting food or money?
Use affordable staples that forgive mistakes: rice, dried pasta, whole carrots, onions, cabbage, and chicken thighs. These ingredients cost little and teach the same principles as expensive cuts or specialty produce.
Cook in small batches—roast just two potatoes or sauté one onion—until your technique improves. This minimizes waste while providing focused practice.
Turn near-mistakes into other dishes. Over-roasted vegetables blend into soup. Dry chicken shreds into saucy tacos or chicken salad. Boil water too long and the pot runs dry? Lesson learned, minimal cost.
Freeze leftovers in labeled containers with dates. Your practice sessions become future lunches and dinners rather than wasted experiments.
What’s the best first method to master if I’m completely new?
Start with boiling/simmering and roasting. Both methods are forgiving and appear in countless beginner recipes. Boiling pasta and roasting a pan of mixed vegetables teaches timing, seasoning, and temperature control with low risk of disaster.
Once those feel comfortable, move to sautéing for stovetop meals that cook in 15-20 minutes. Sautéing builds on heat control skills you developed while boiling and roasting.
Baking can be introduced early with simple recipes like sheet-pan chicken and potatoes or basic muffins from sous vide to quick breads. Just expect that baking requires more precision in measurement than other methods.
Even mastering one solid method over a few weeks will noticeably improve your daily meals. You don’t need to learn everything at once—build one skill, then add another.